Loading... ### 一、准备 #### 1.1 esxi安装 > 参考: [<a href="https://smjc.cc/xitong/358.html](https://smjc.cc/xitong/358.html)" title="https://smjc.cc/xitong/358.html](https://smjc.cc/xitong/358.html)">https://smjc.cc/xitong/358.html](https://smjc.cc/xitong/358.html)</a> > <div class="preview"> <div class="post-inser post box-shadow-wrap-normal"> <a href="https://smjc.cc/xitong/358.html" target="_blank" class="post_inser_a no-external-link no-underline-link"> <div class="inner-image bg" style="background-image: url(https://smjc.cc/usr/uploads/2023/05/579316914.png);background-size: cover;"></div> <div class="inner-content" > <p class="inser-title">物理机esxi6.7 u盘安装记录</p> <div class="inster-summary text-muted"> 安装步骤下载VMware-PowerCLI-6.5.0http://down.whsir.com/download... </div> </div> </a> <!-- .inner-content #####--> </div> <!-- .post-inser ####--> </div> #### 1.2 下载ubuntu server镜像包 这里下载好ubuntu-18.04.2-live-server-amd64.iso镜像包到本地。 > 下载地址:[http://mirrors.aliyun.com/ubuntu-releases/18.04/ubuntu-18.04.2-live-server-amd64.iso](https://links.jianshu.com/go?to=http%3A%2F%2Fmirrors.aliyun.com%2Fubuntu-releases%2F18.04%2Fubuntu-18.04.2-live-server-amd64.iso) #### 1.3 上传ubuntu server镜像包 登陆esxi主机,点击存储->数据存储浏览器  在弹框中点击创建目录,创建一个share目录。 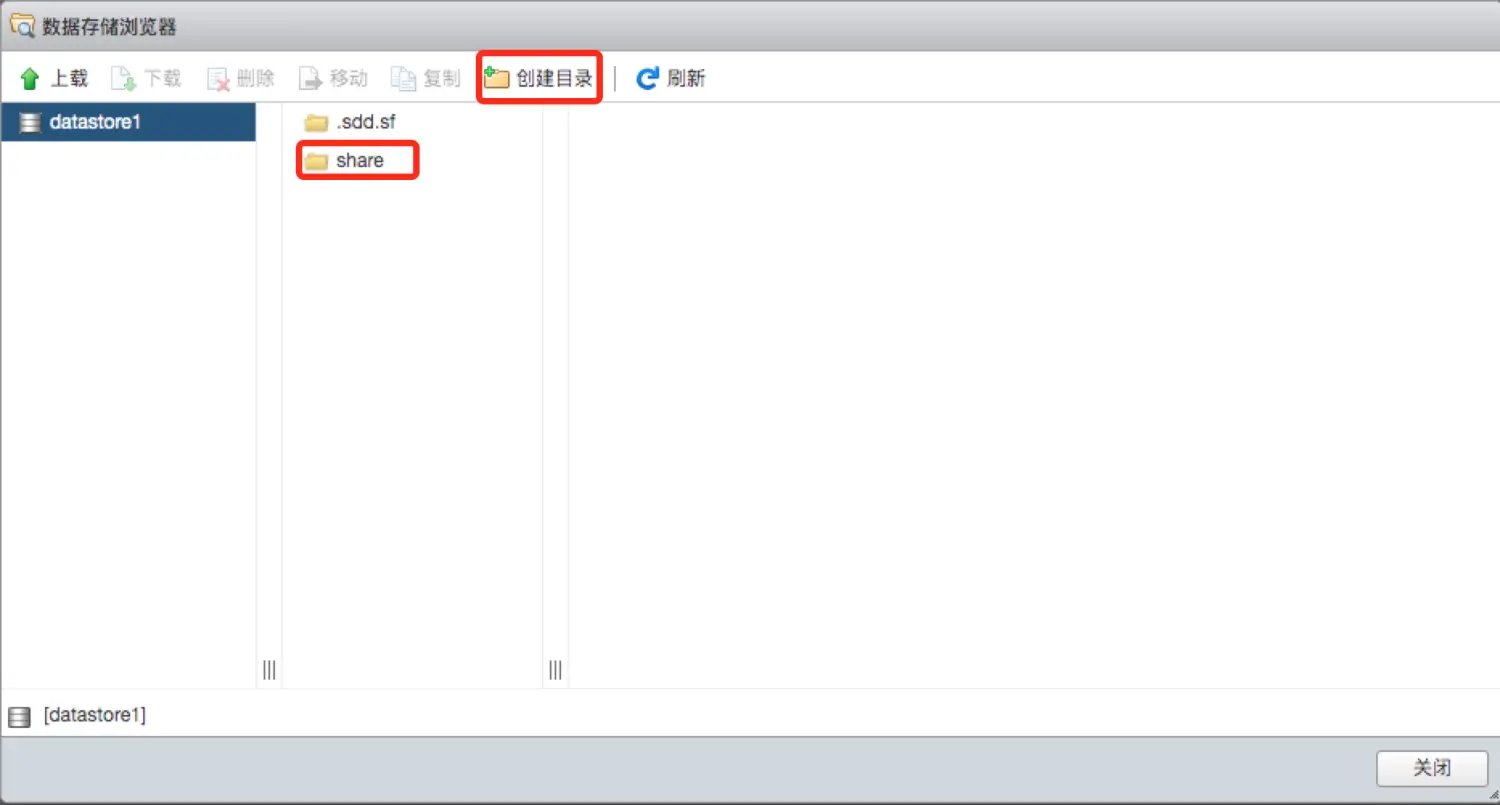 点击进入share目录,点击上载,上传ubuntu-18.04.2-live-server-amd64.iso镜像包。 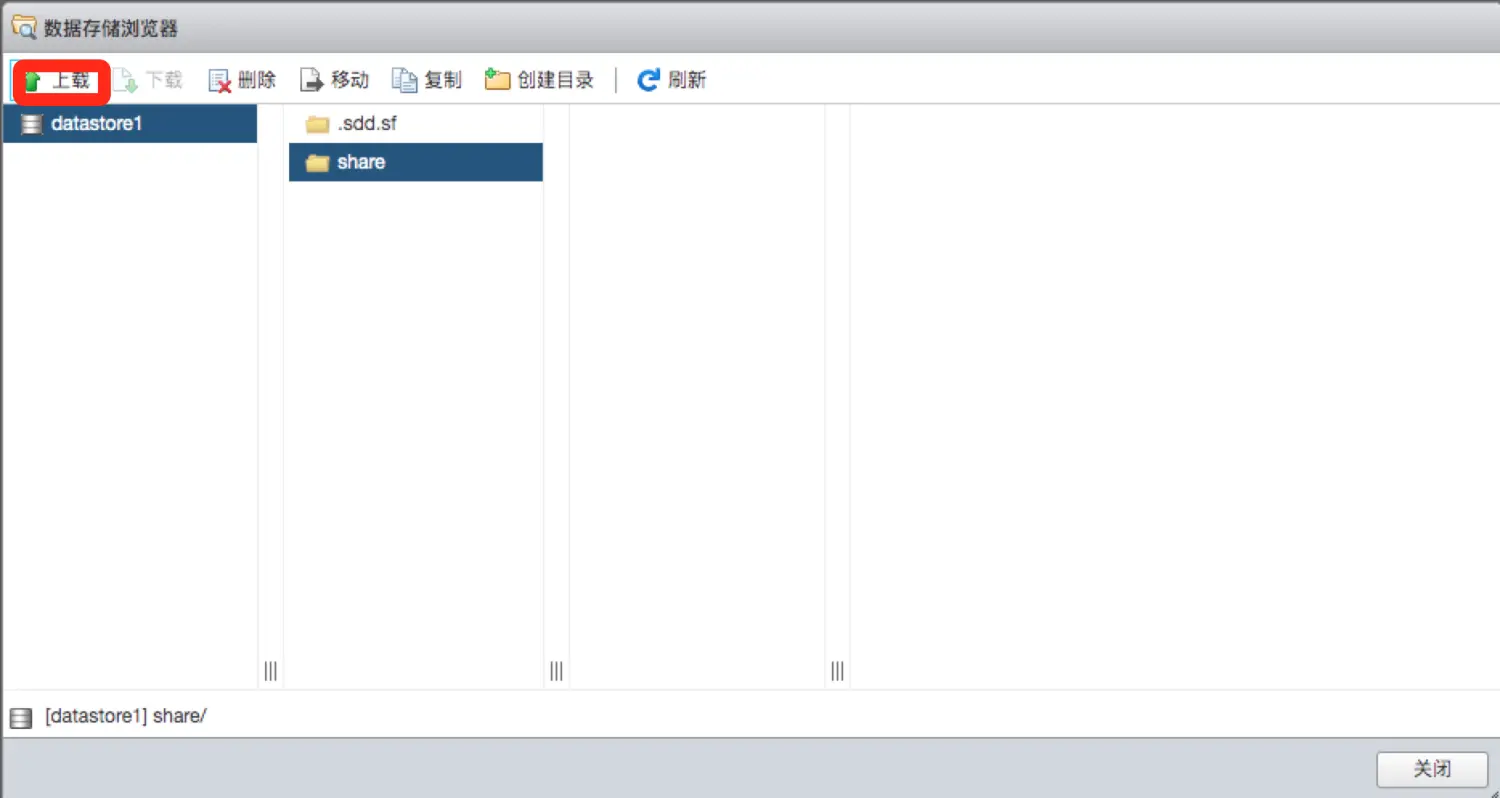 上传完成后关闭:  ### 二、创建虚拟机 点击虚拟机->创建/注册虚拟机 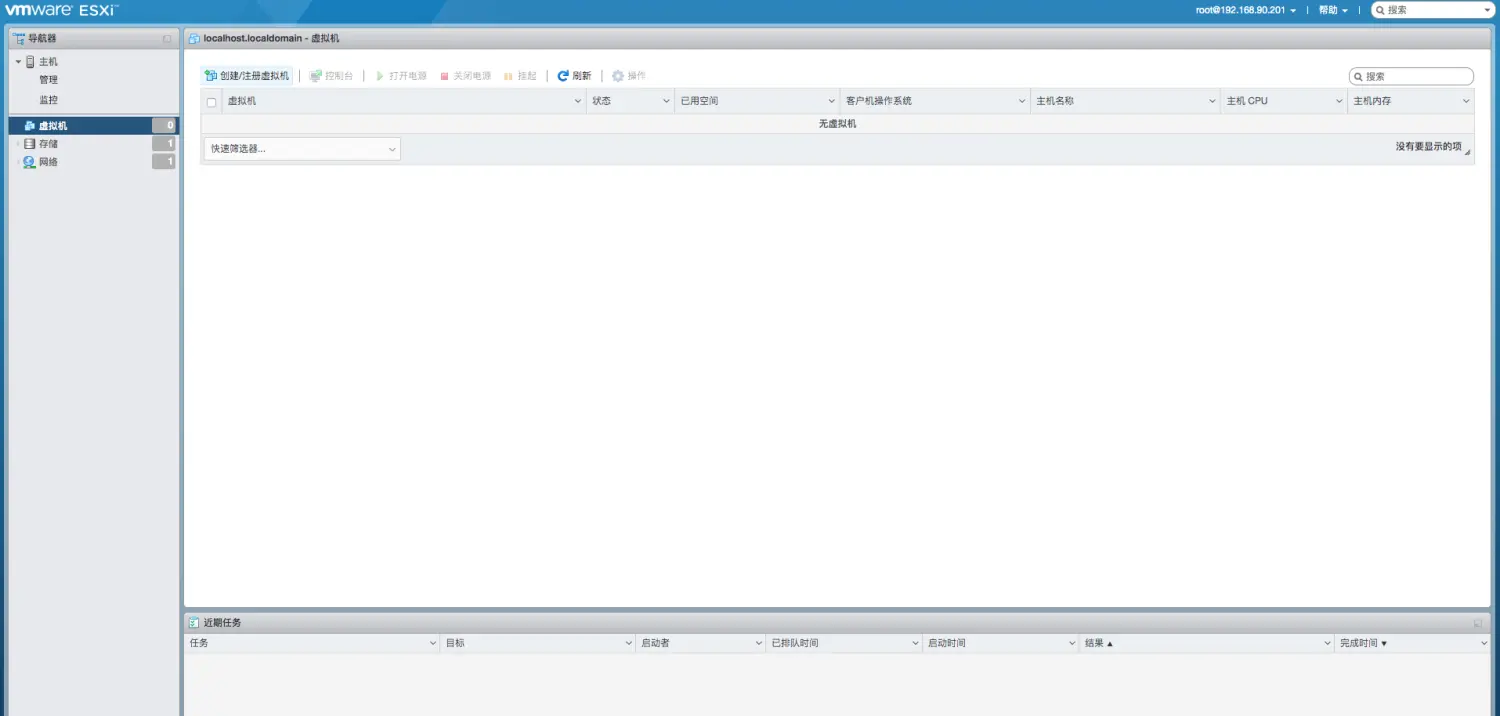 在弹出的对话框选择创建新虚拟机,并选择下一页: 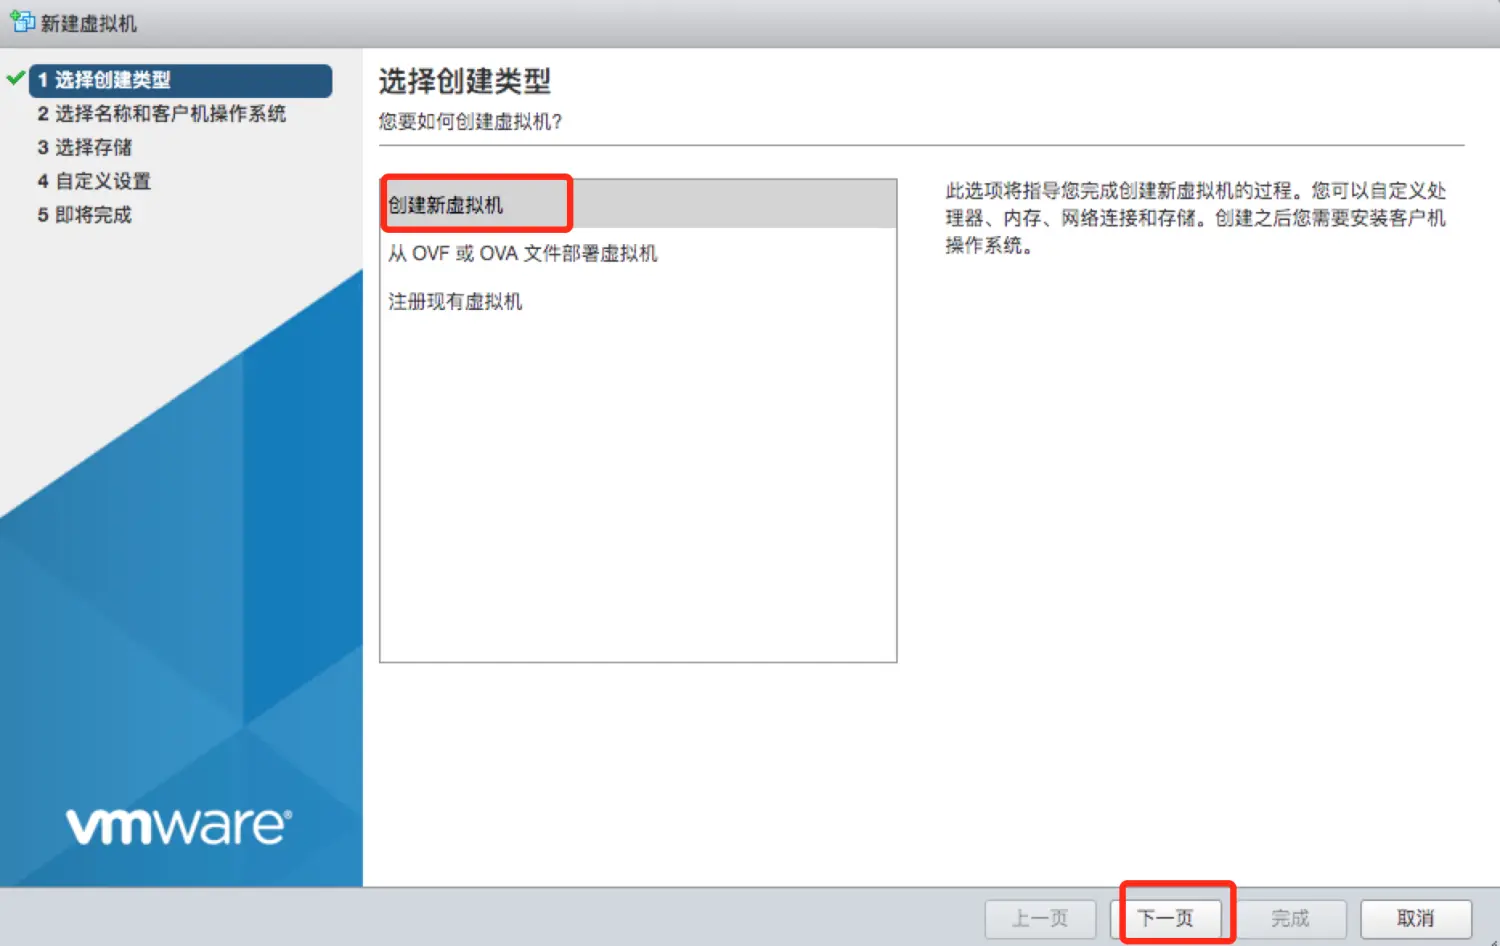 输入名称,选择客户机操作系统系列为Linux,版本为Ubuntu Linux(64位): 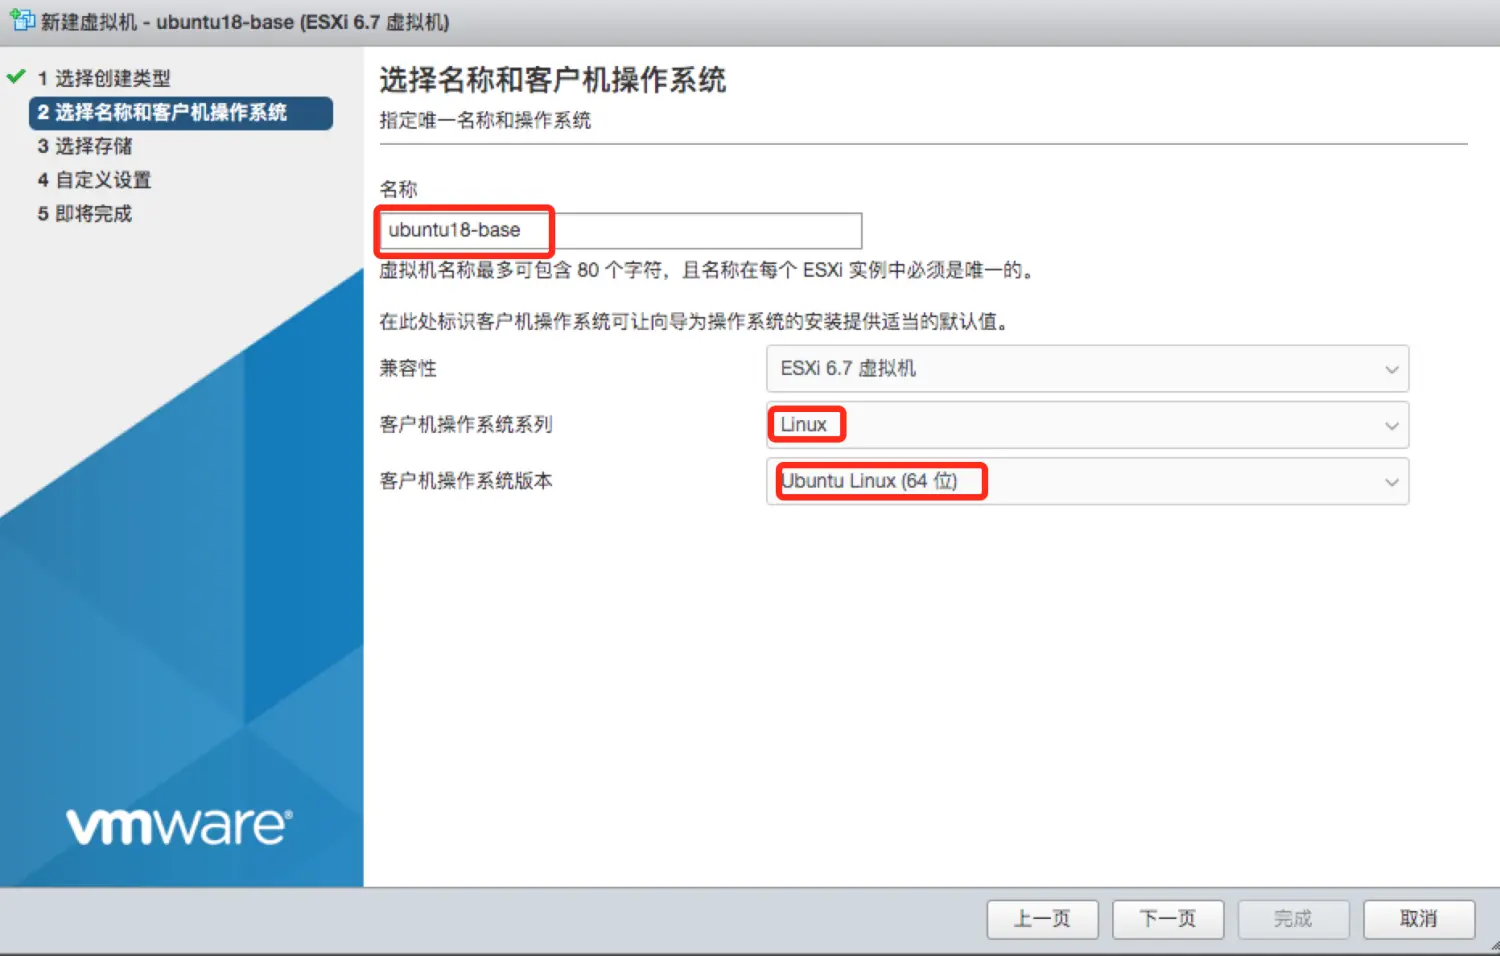 选择存储,并选择下一页: 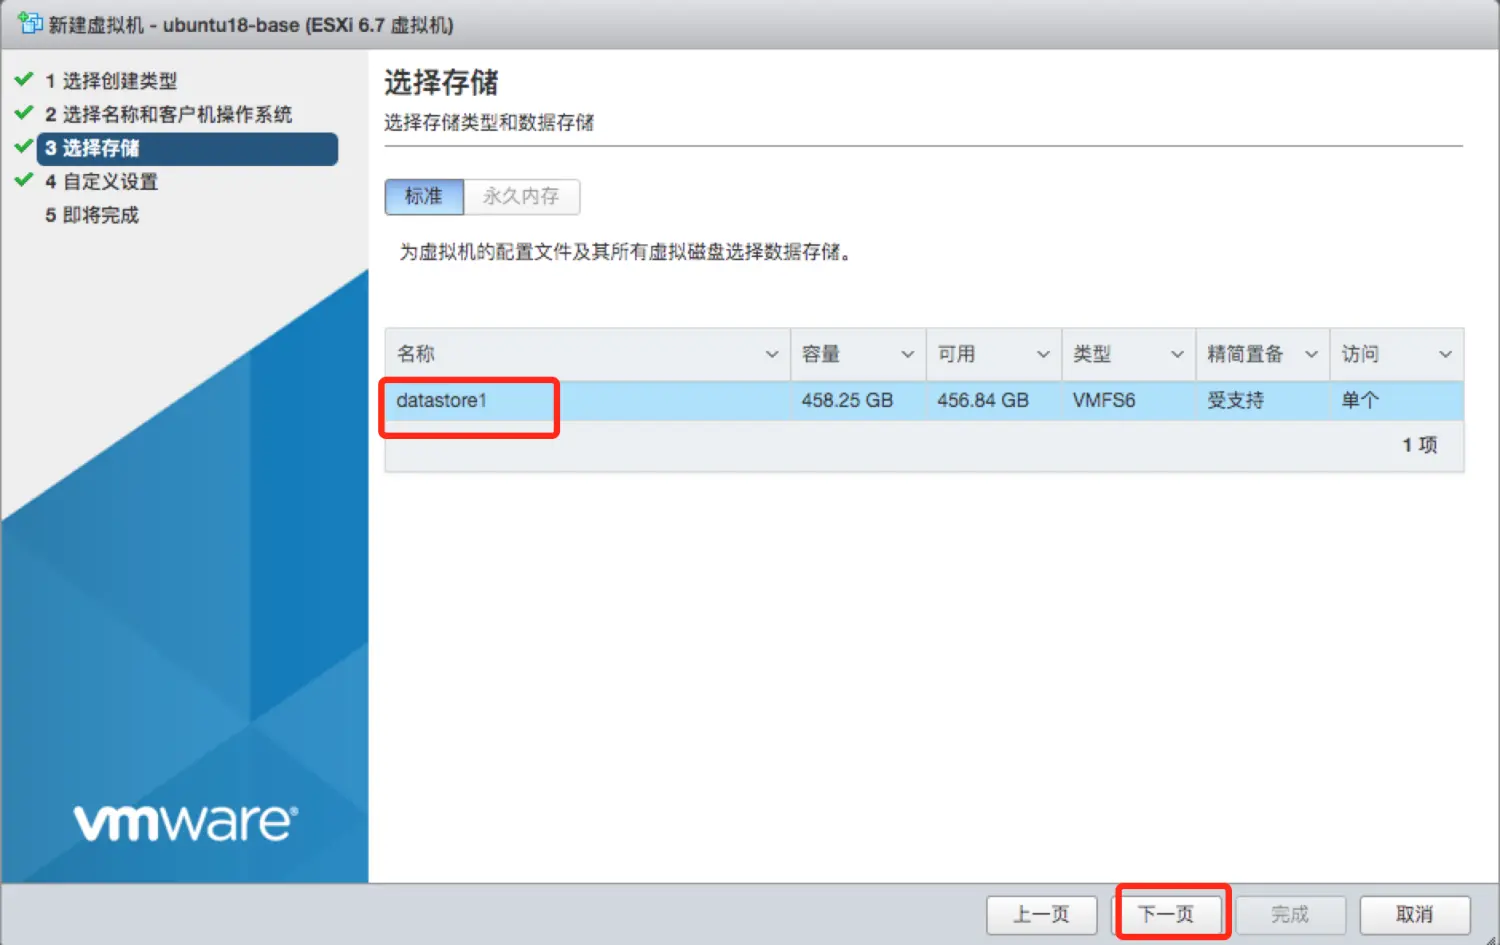 完成自定义设置: 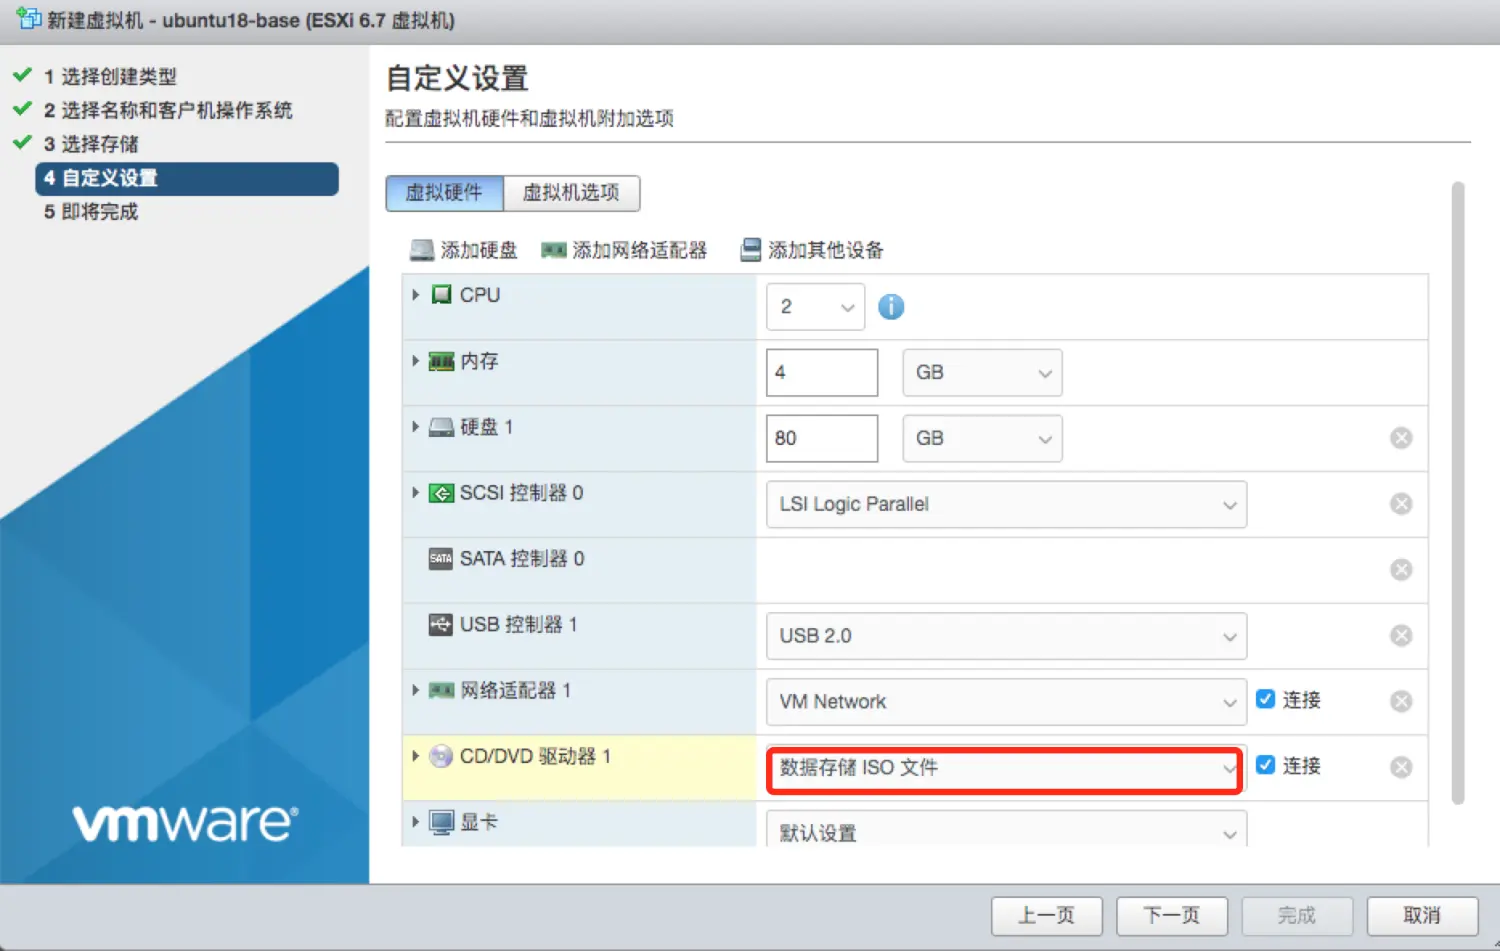 展开虚拟机CD/DVD驱动器,点击浏览: 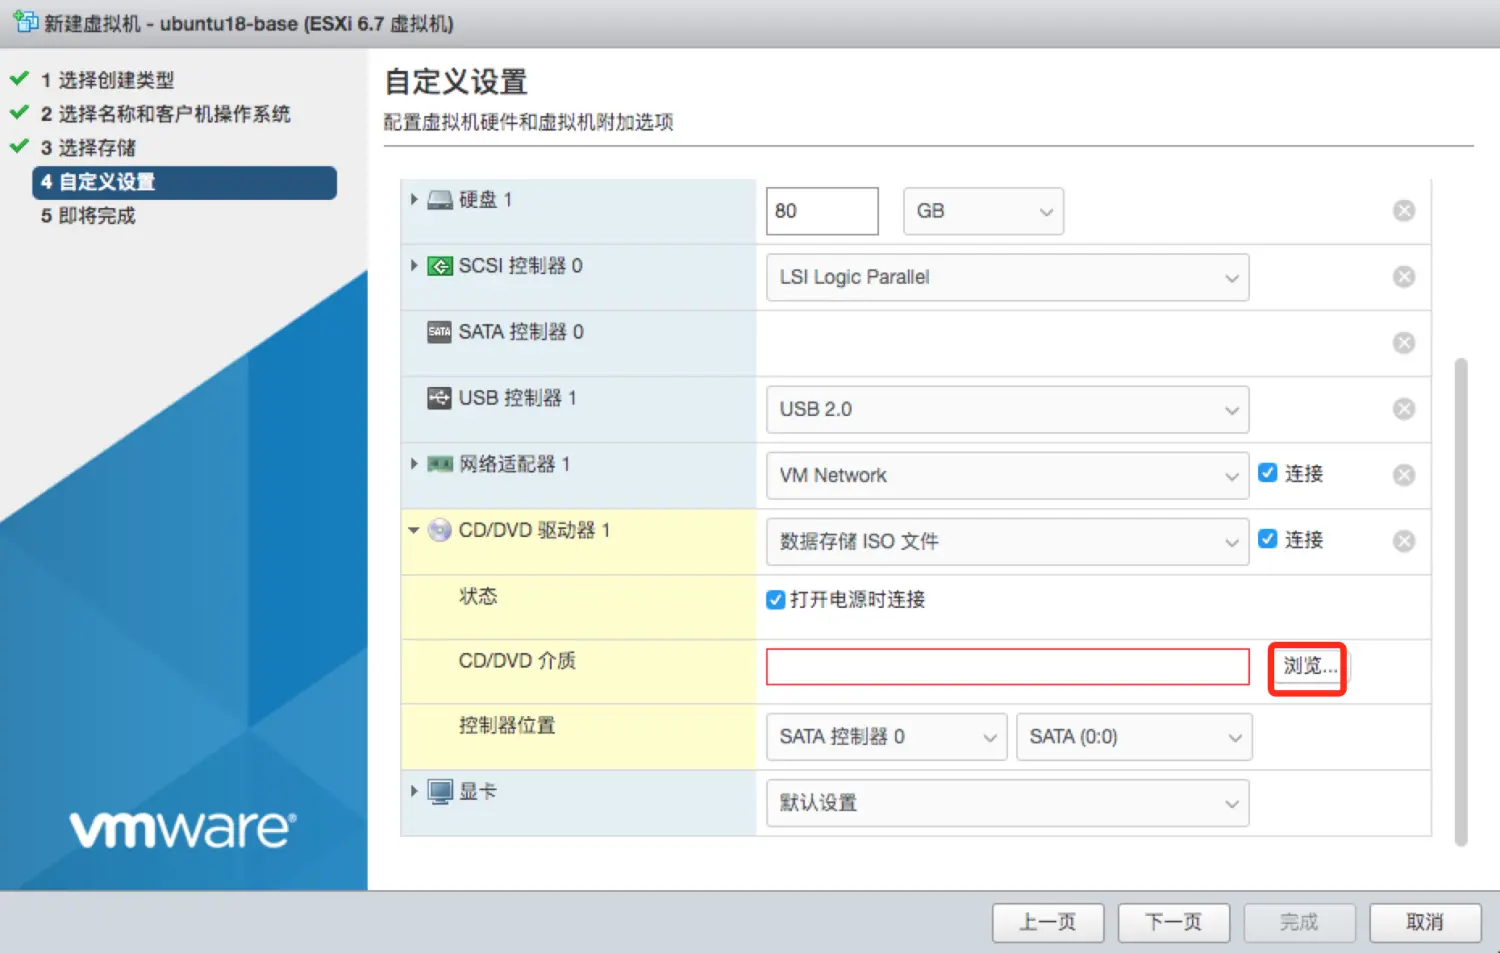 选择上传的iso镜像: 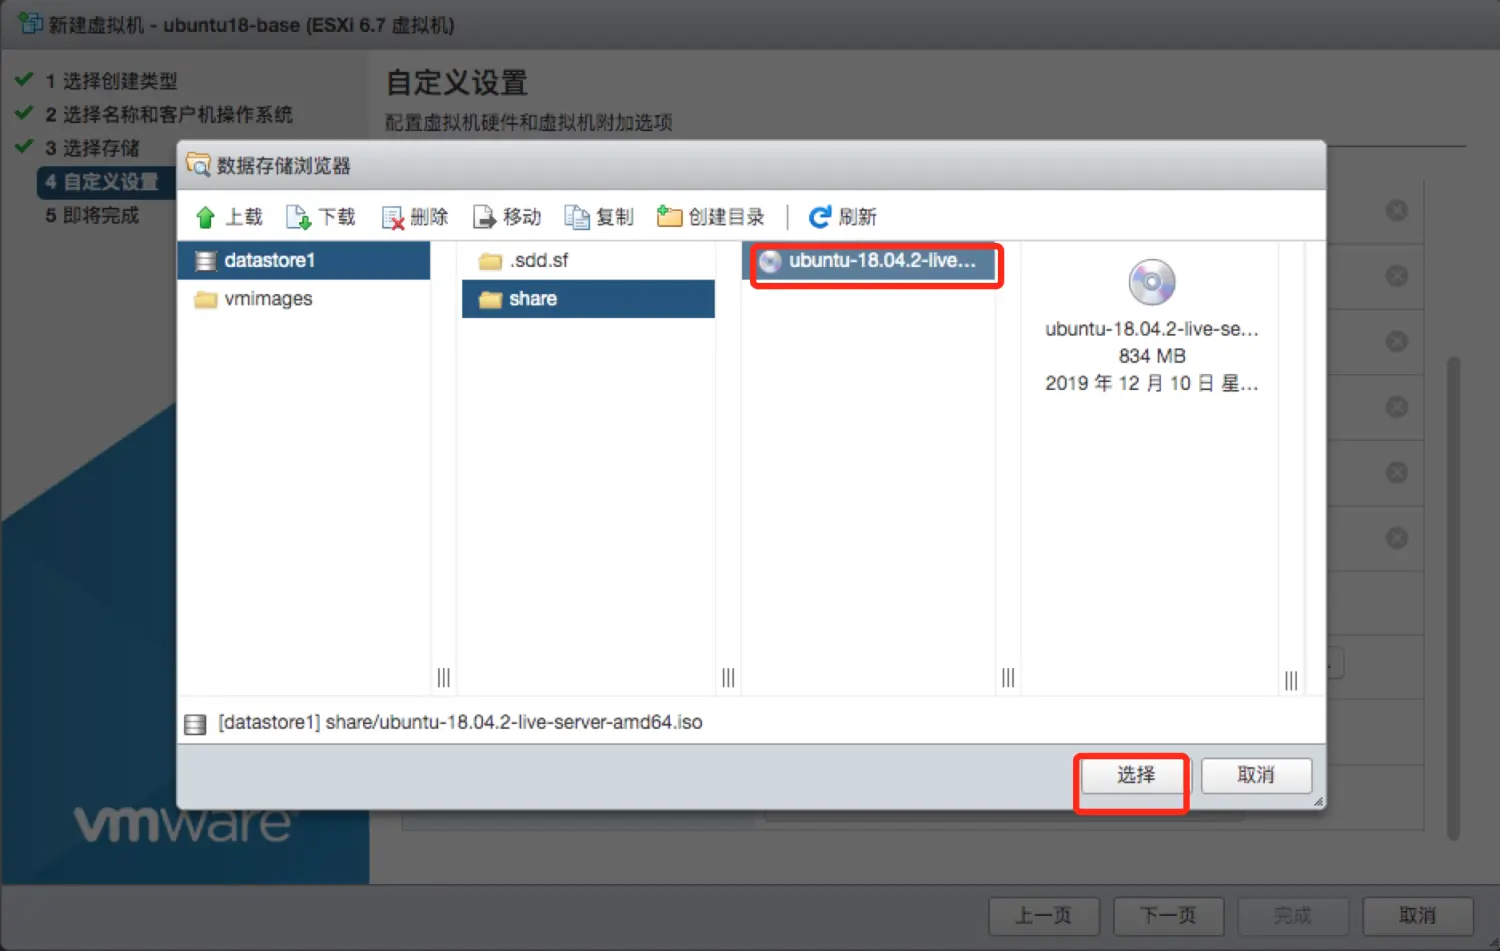 完成选择后点击下一页,并选择完成: 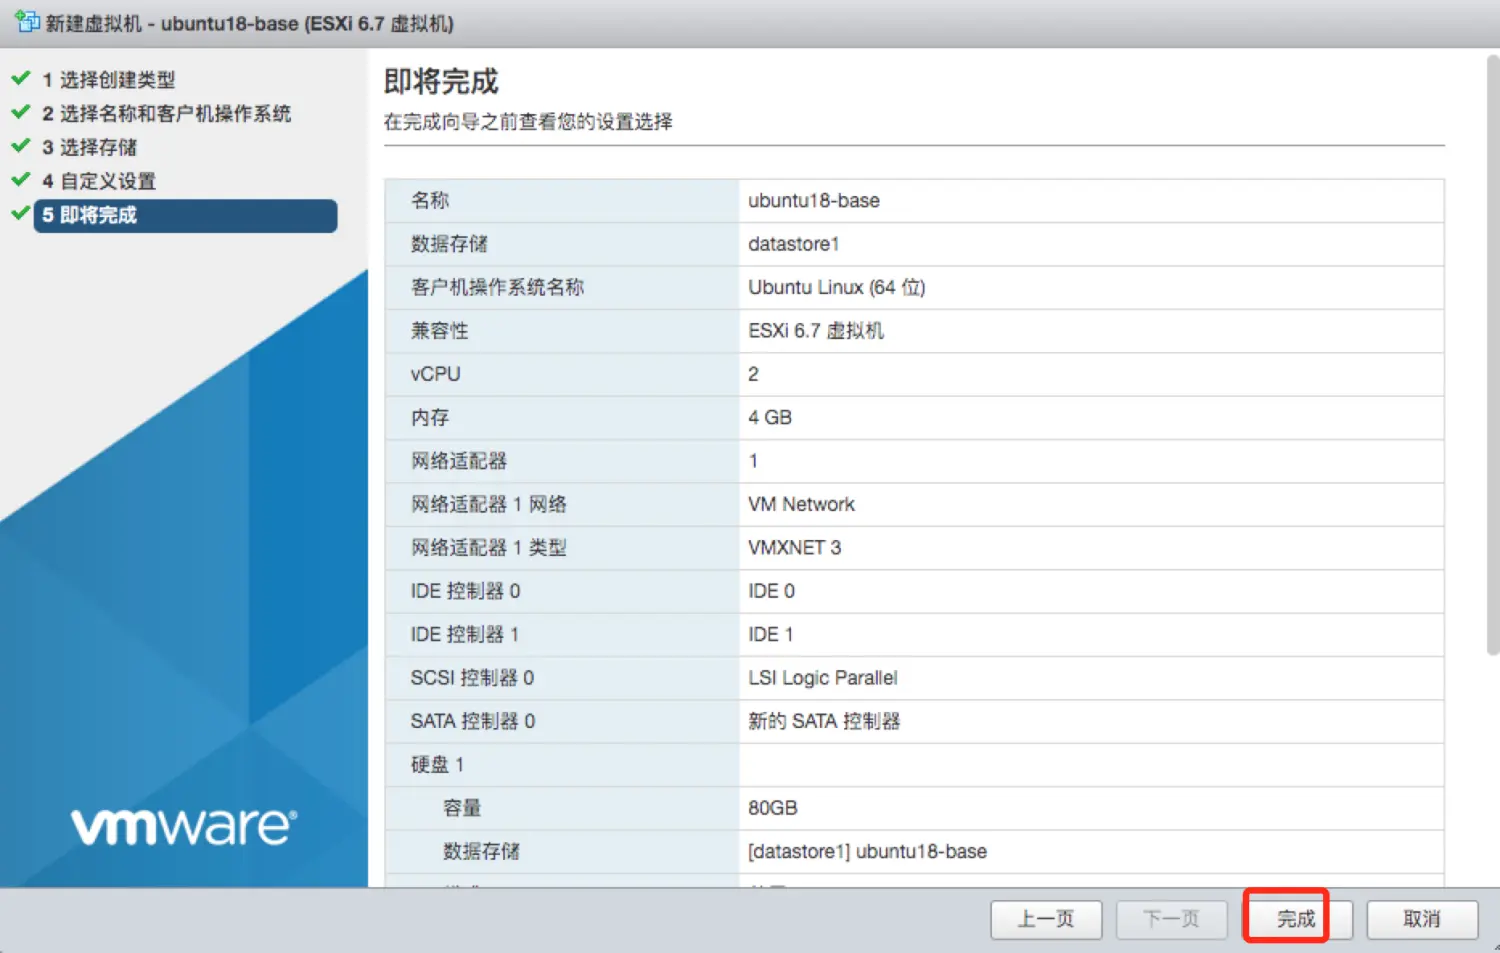 ### 三、安装虚拟机 此时在虚拟机列表可以看到刚刚创建的虚拟机,选择并点击“打开电源”,虚拟机开始启动,这时我们可以像在物理机启动一样对虚拟机进行安装设置。 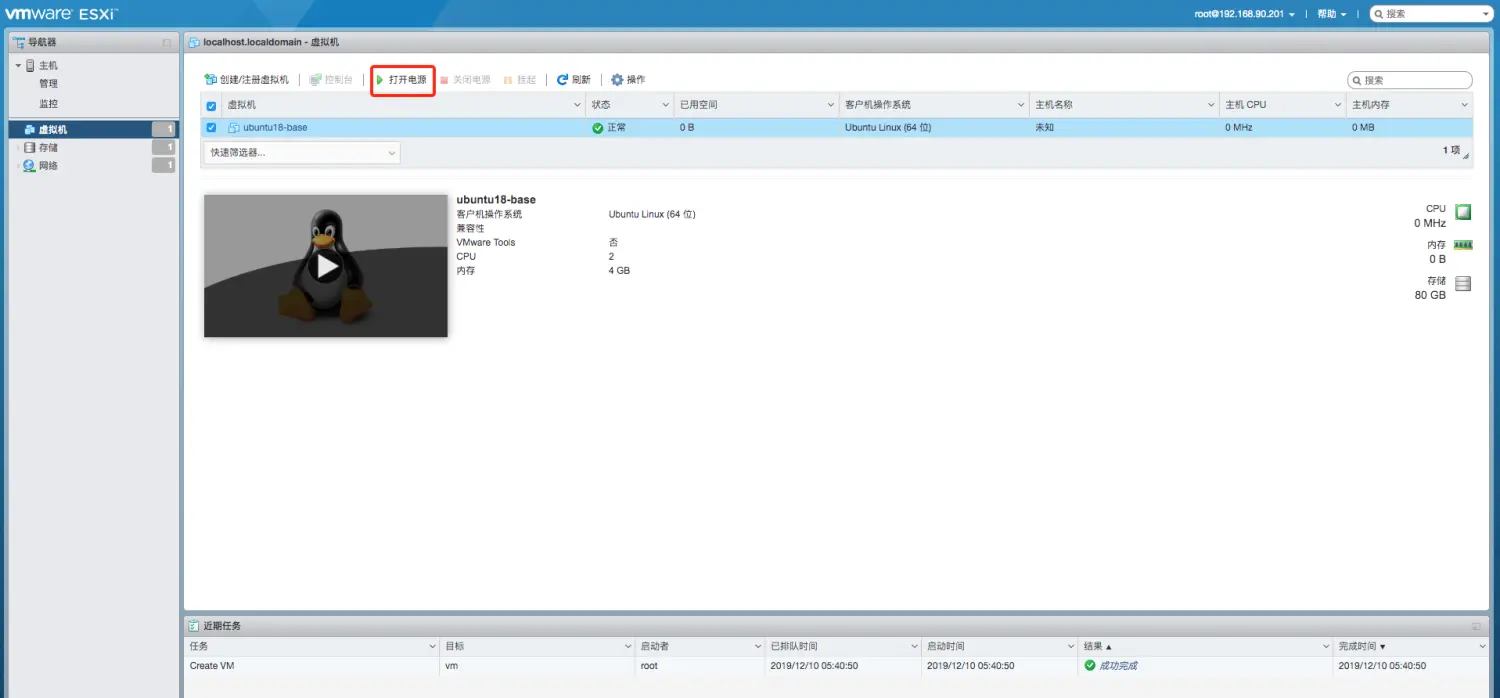 点击展开安装界面: 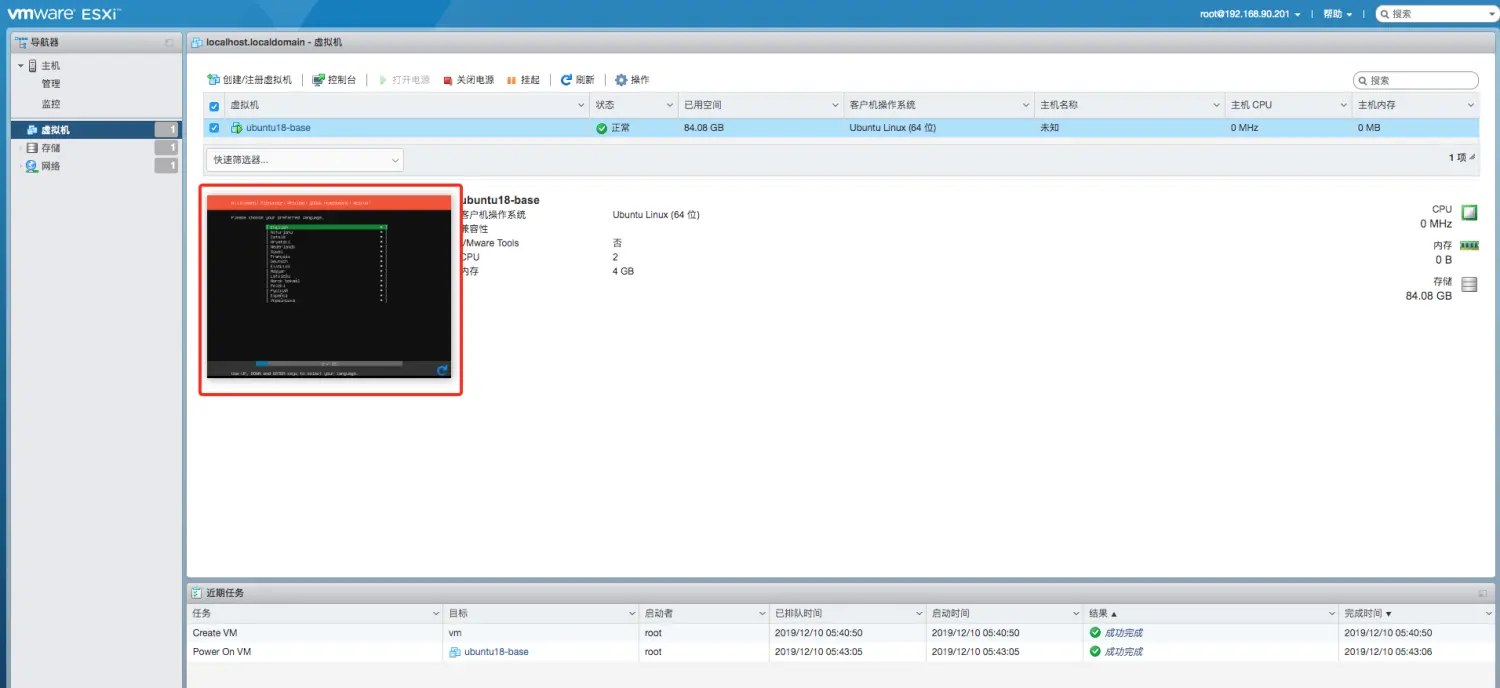 展开后选择语言为English: 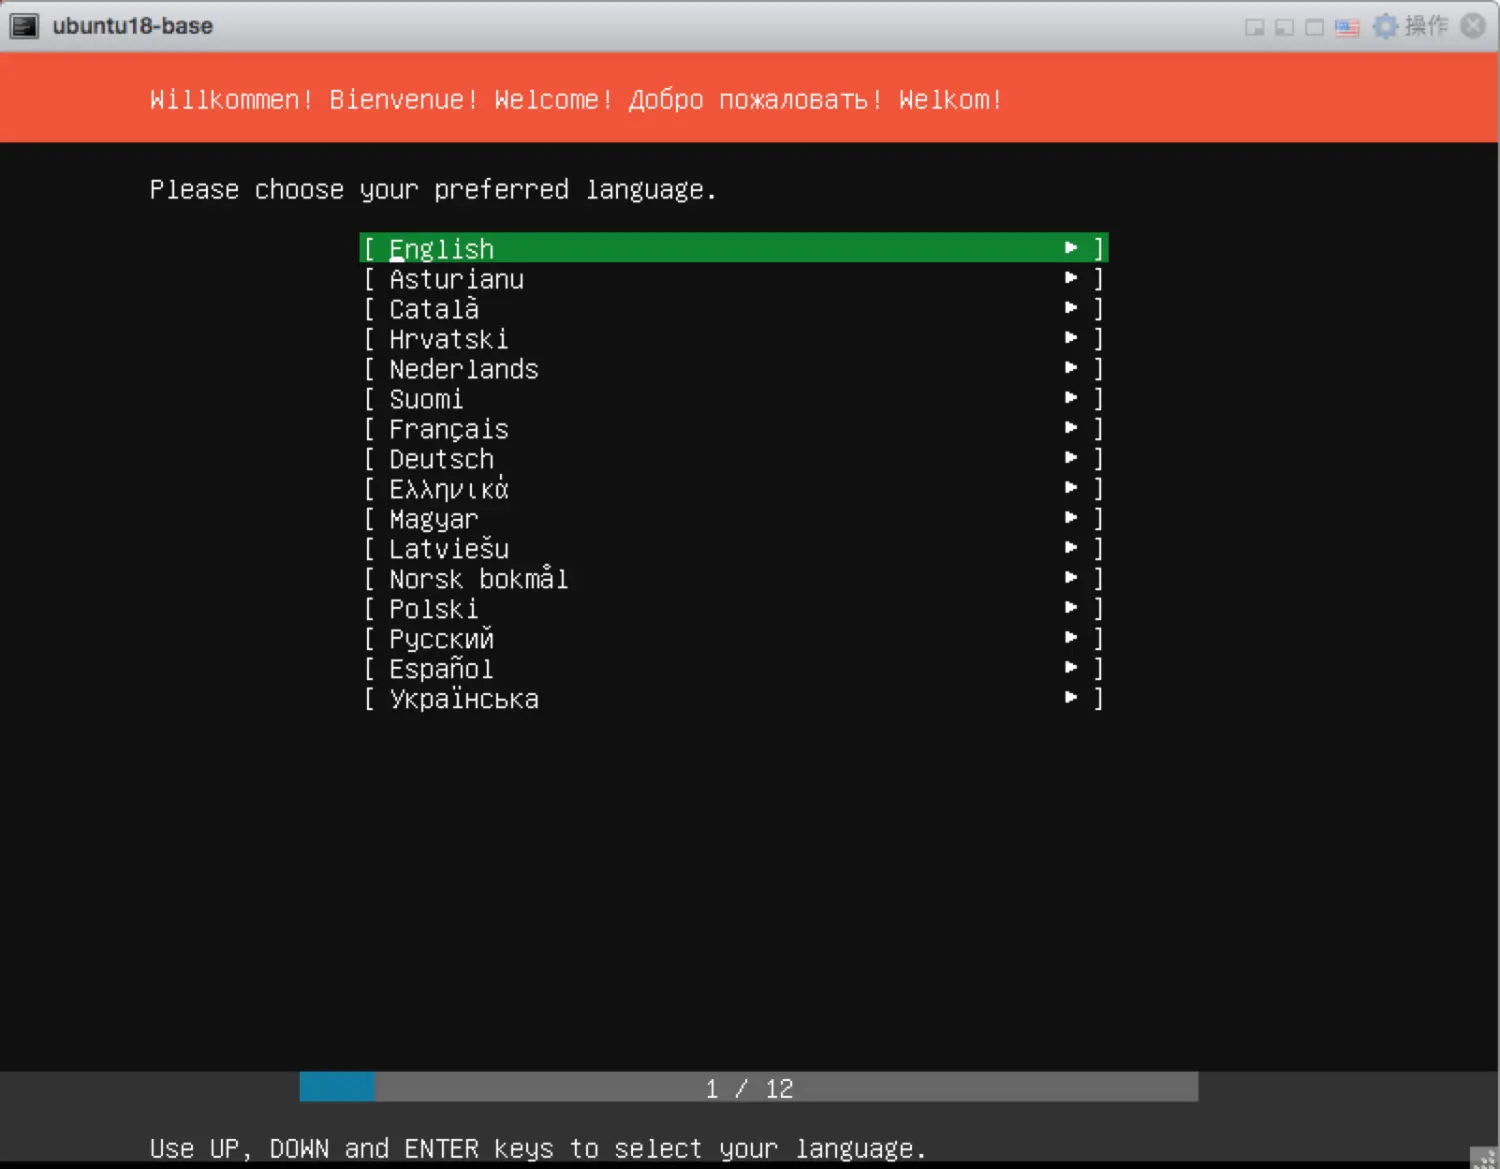 回车进入下一步后选择Done: 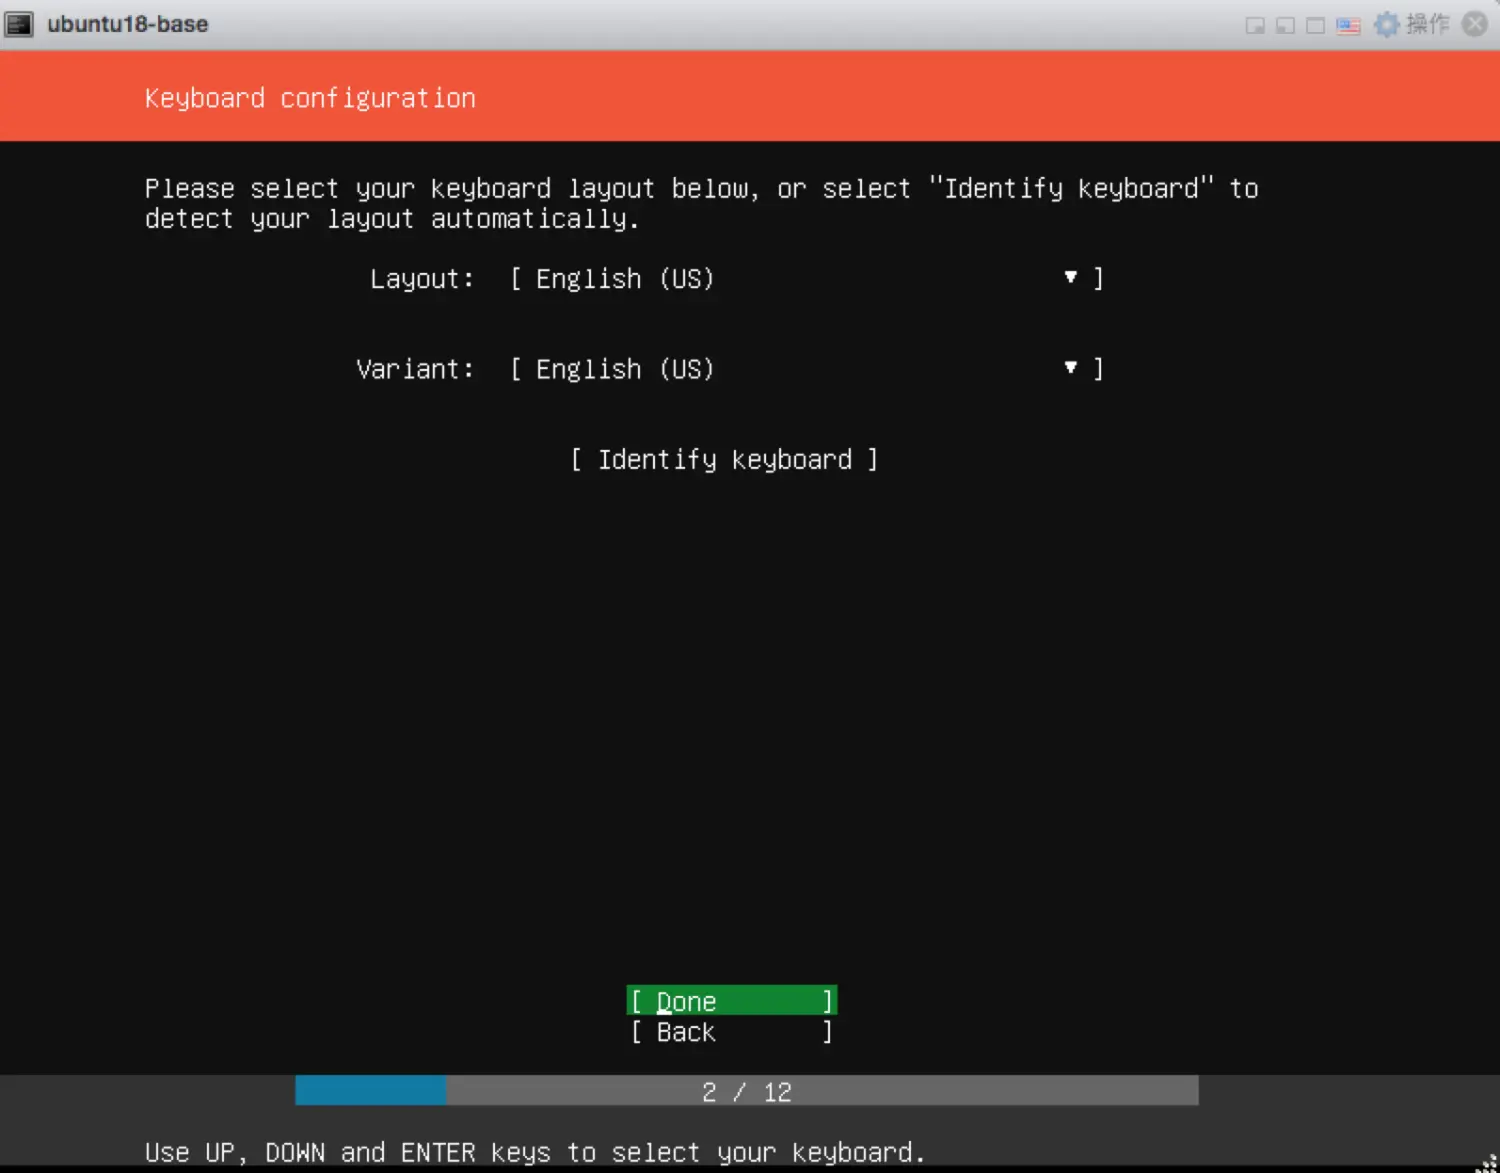 选择Install Ubuntu: 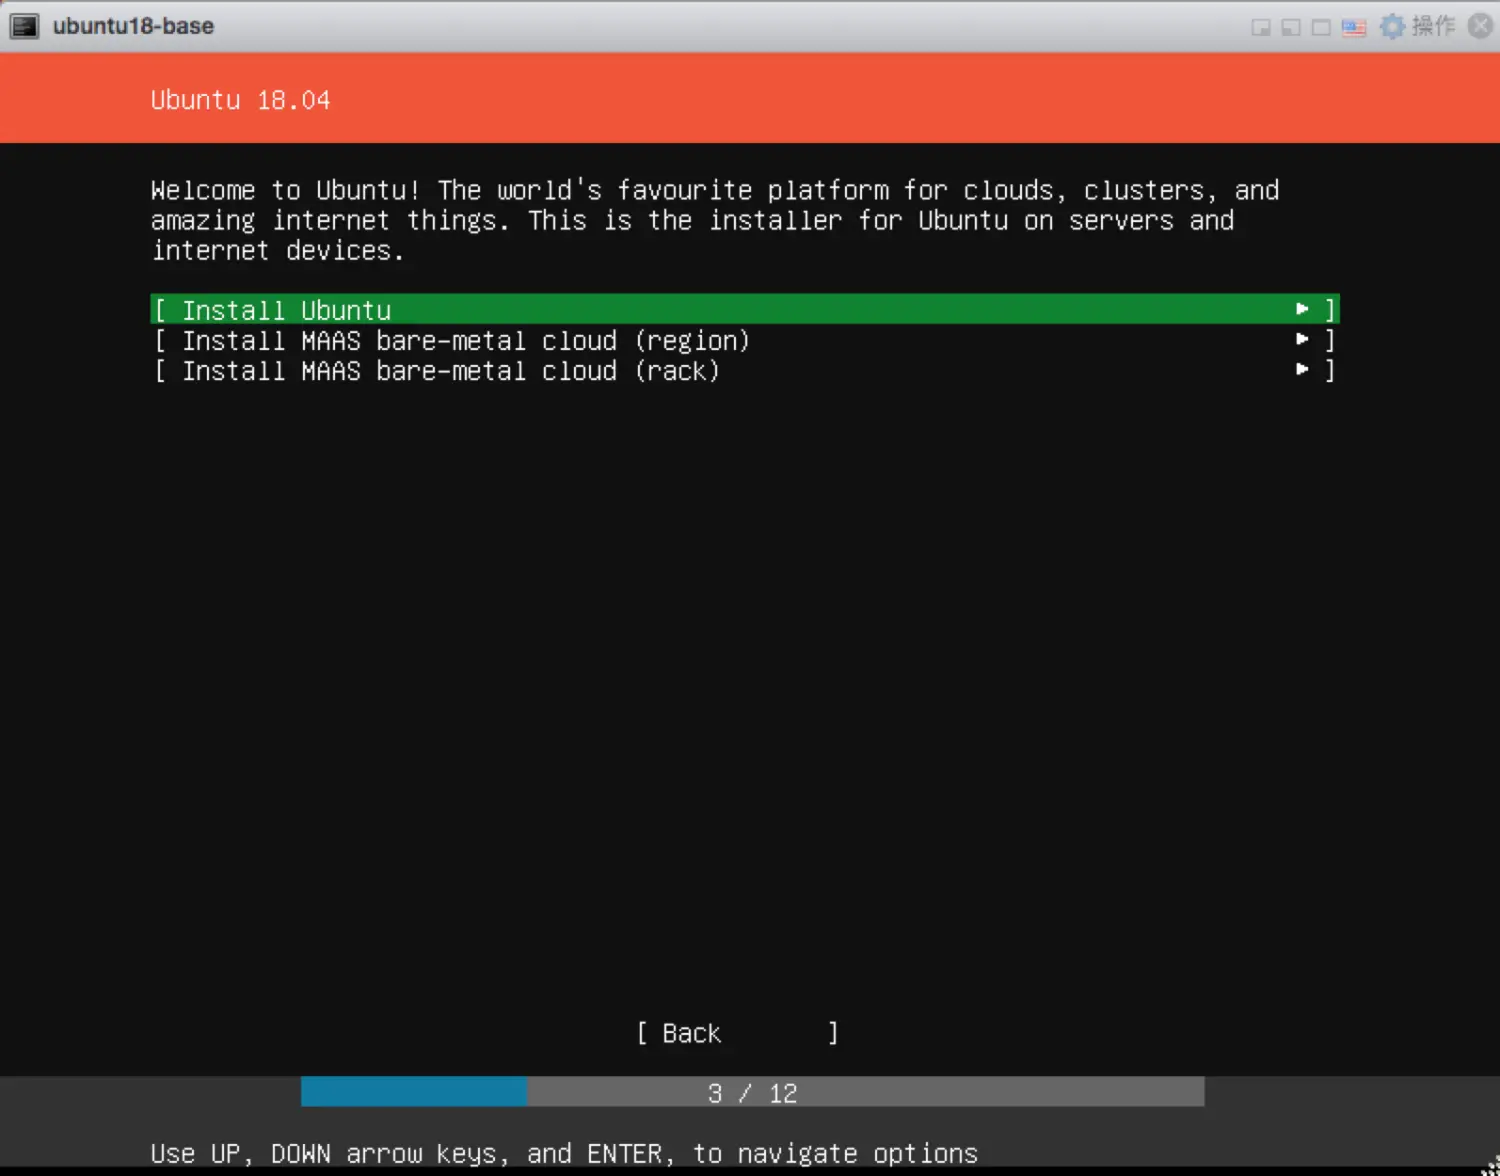 通过上下箭头移动,编辑ip地址: 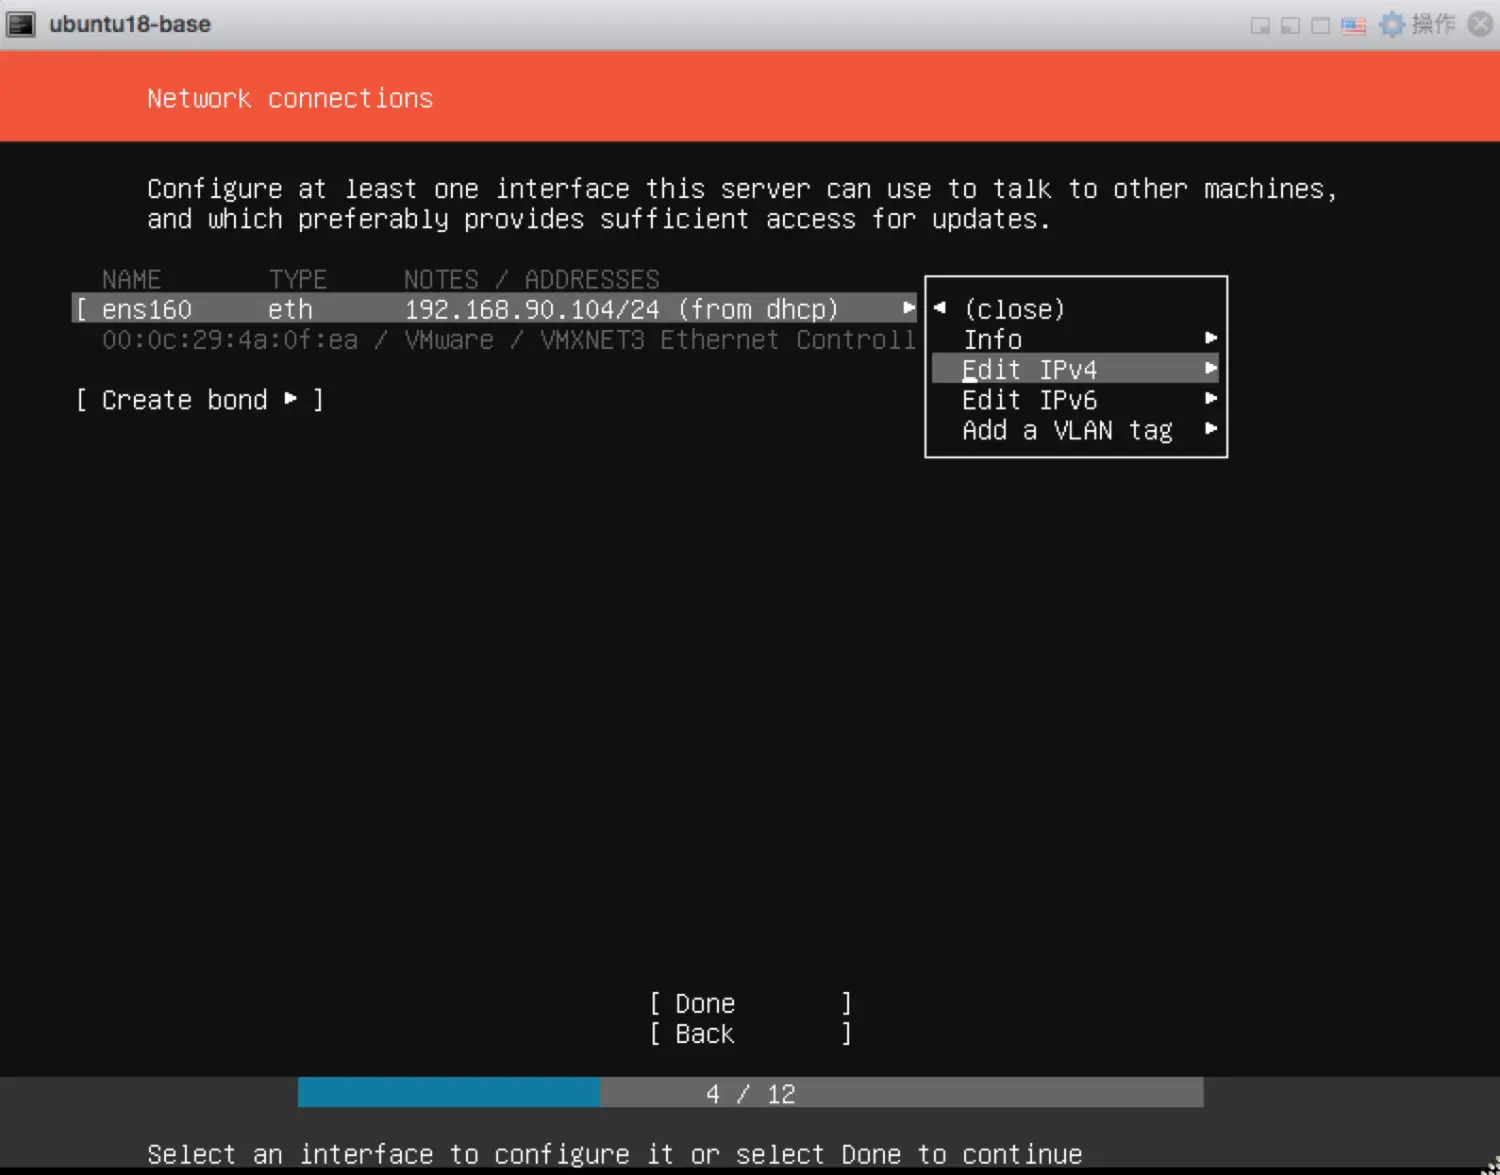 可以选择自动(Automatic)或手动(Manual) 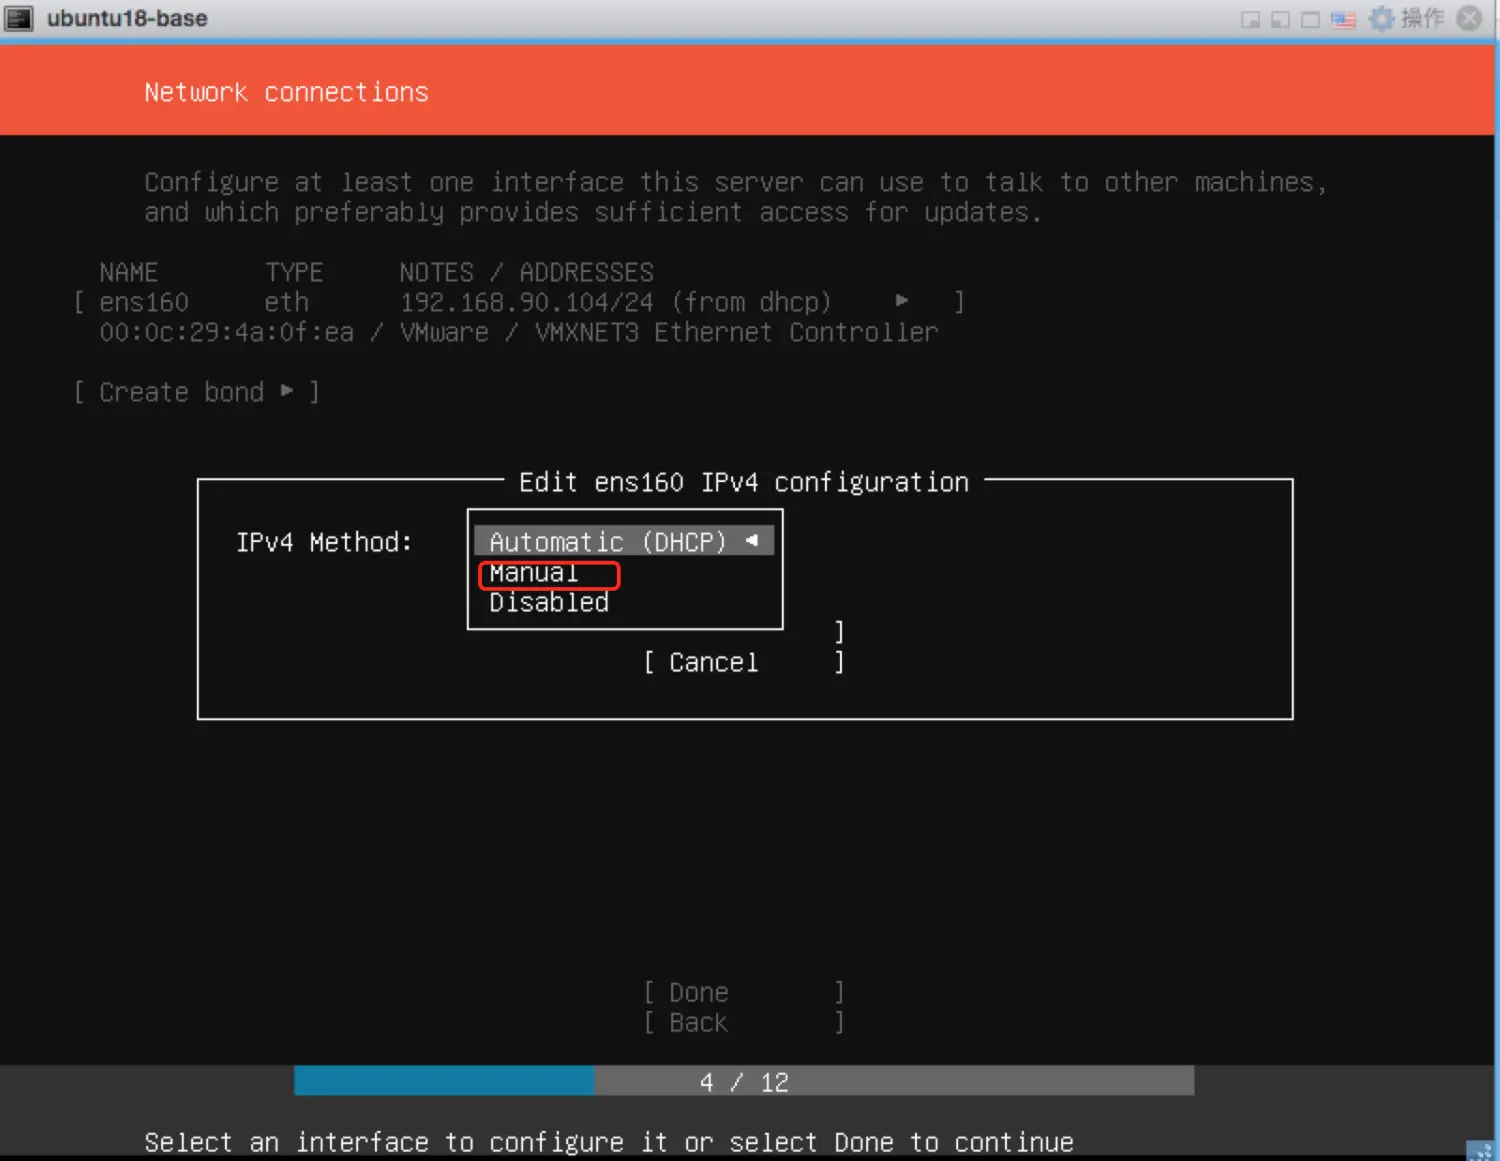 这里选择手动方式: 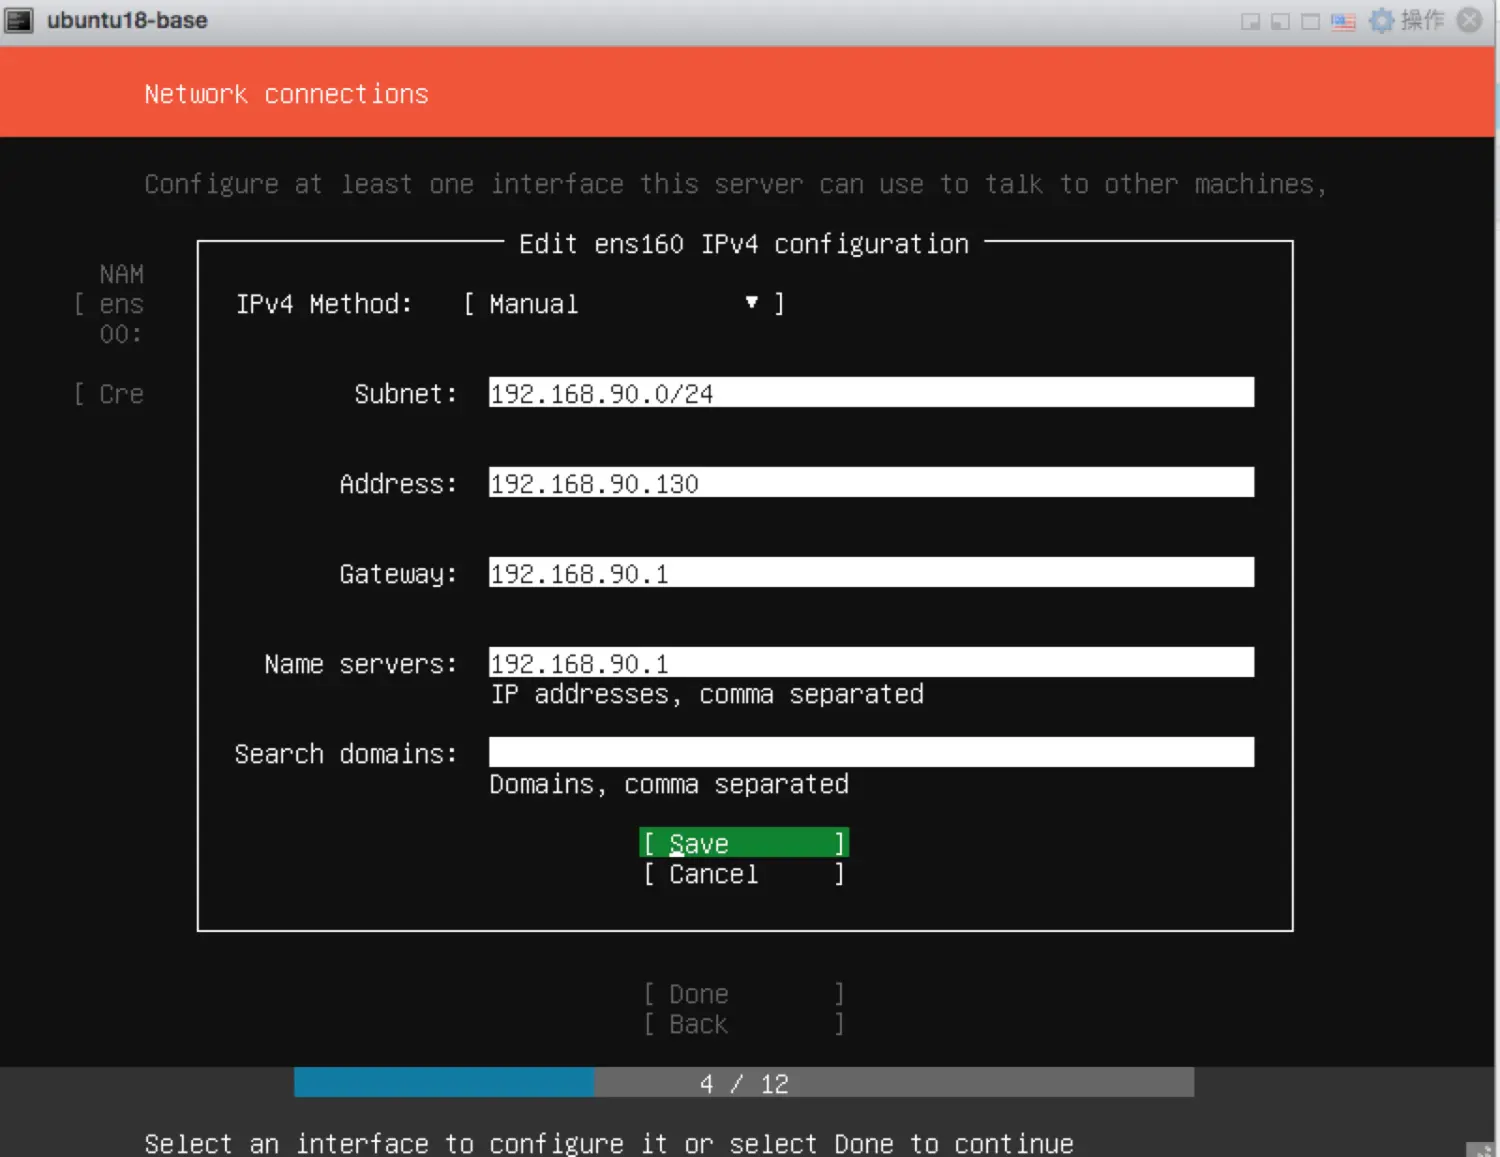 配置完成选择Done进入下一步: 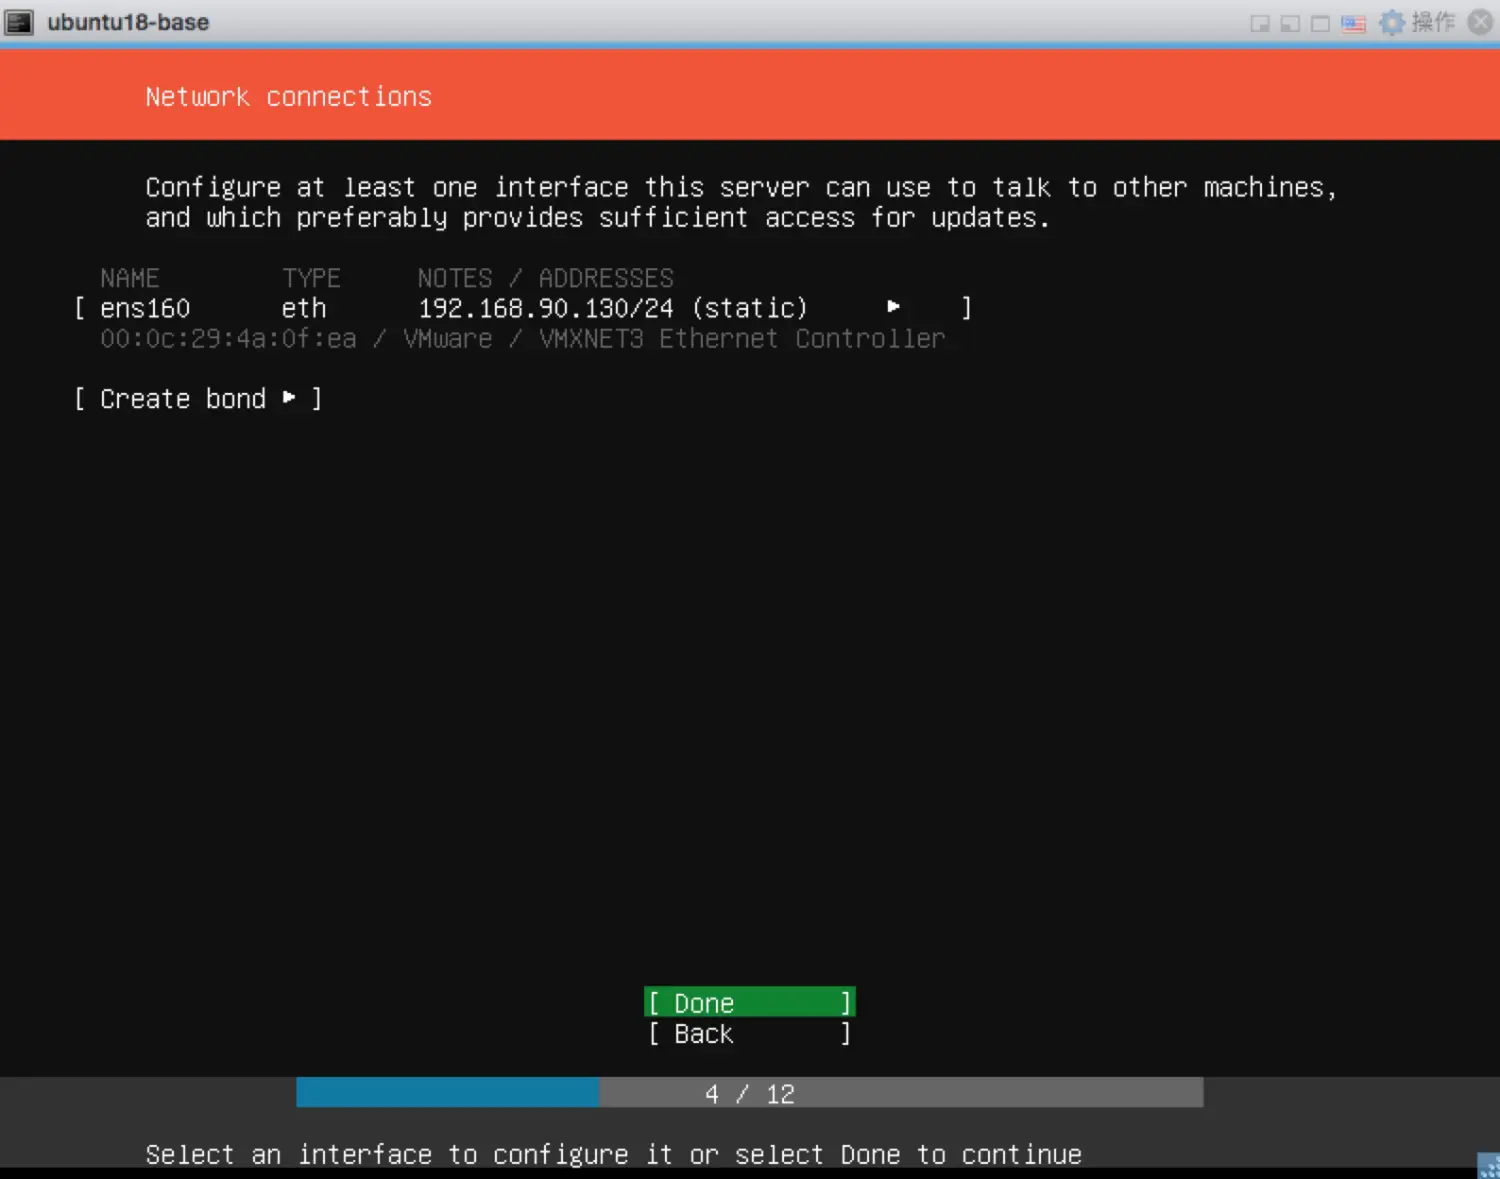 配置代理地址(proxy address),一般不需要,直接Done: 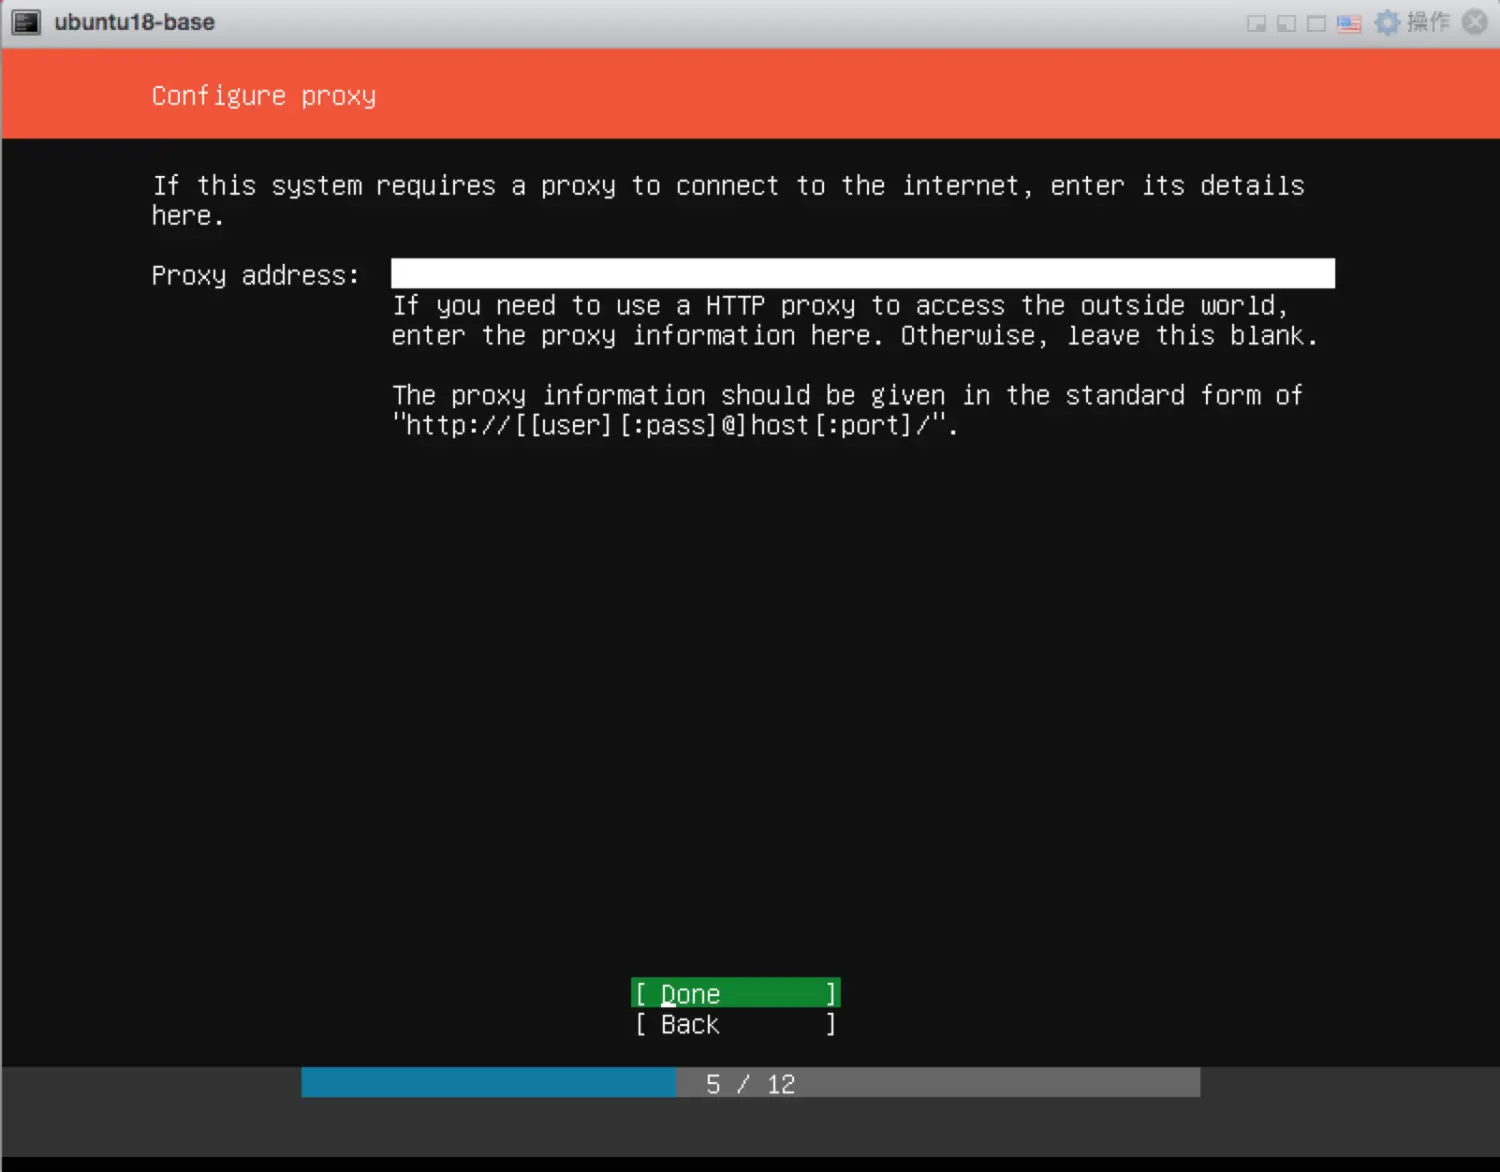 配置镜像地址,此处配置阿里云镜像[http://mirrors.aliyun.com/ubuntu](https://links.jianshu.com/go?to=http%3A%2F%2Fmirrors.aliyun.com%2Fubuntu): 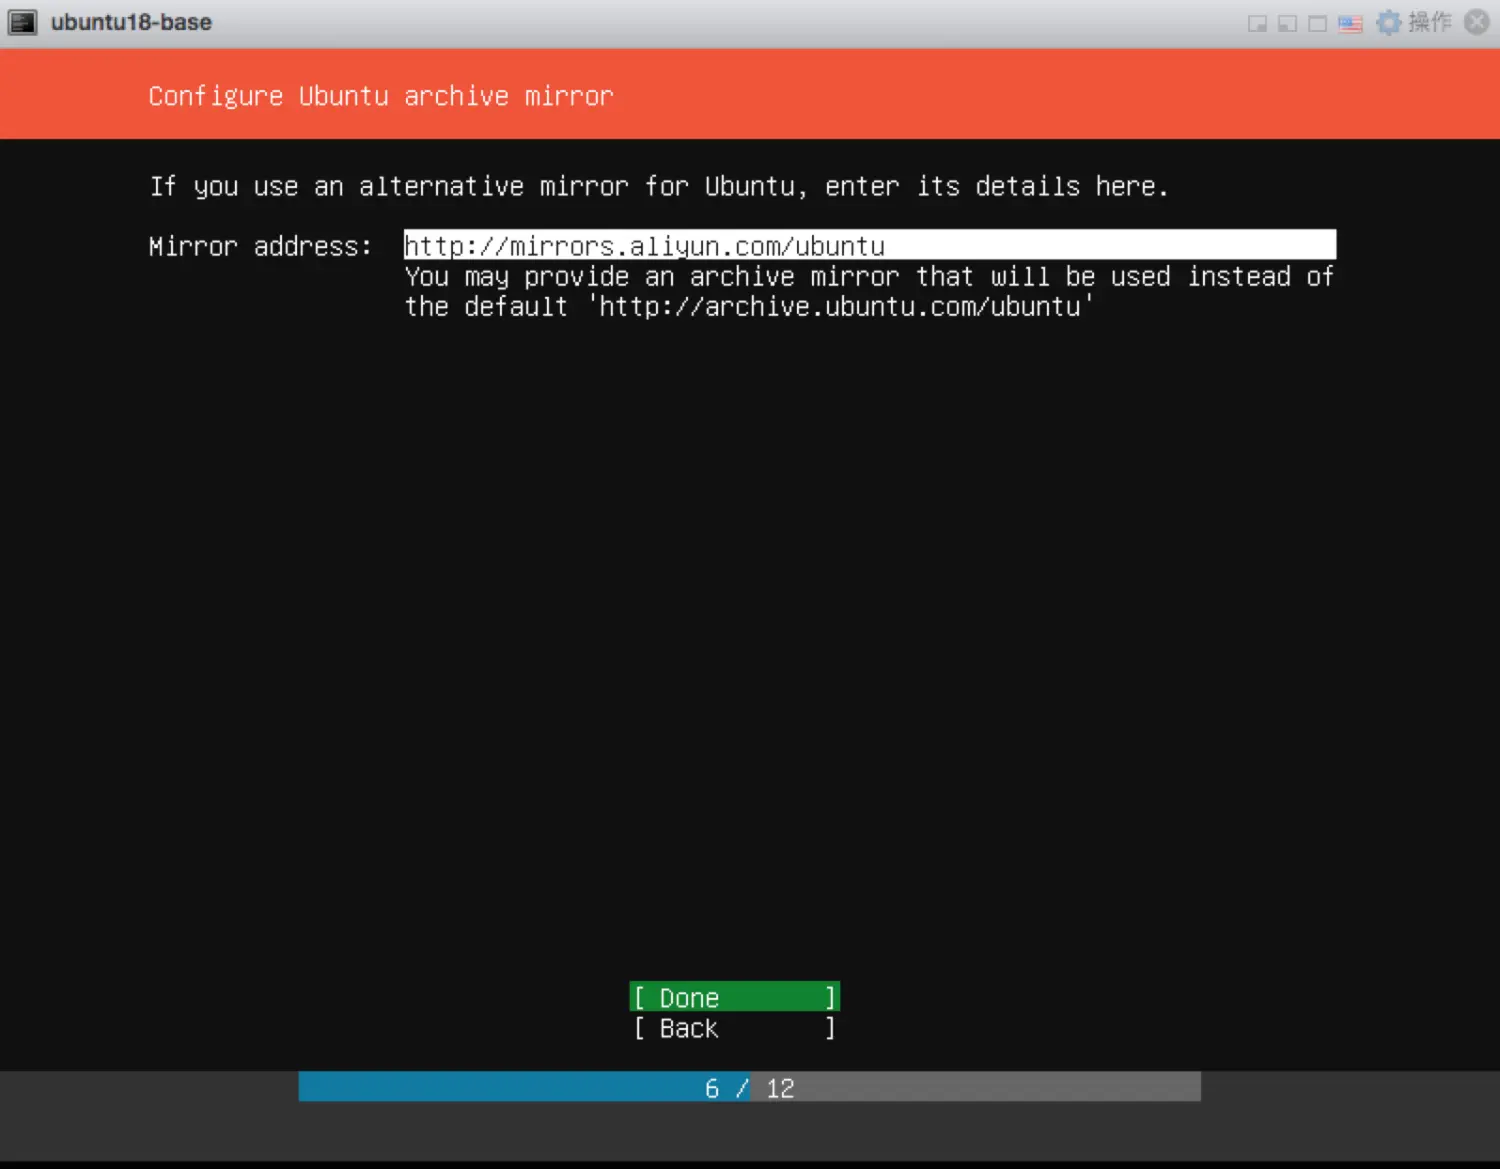 进入磁盘分区,此处用Use An Entire Disk进行快速安装: 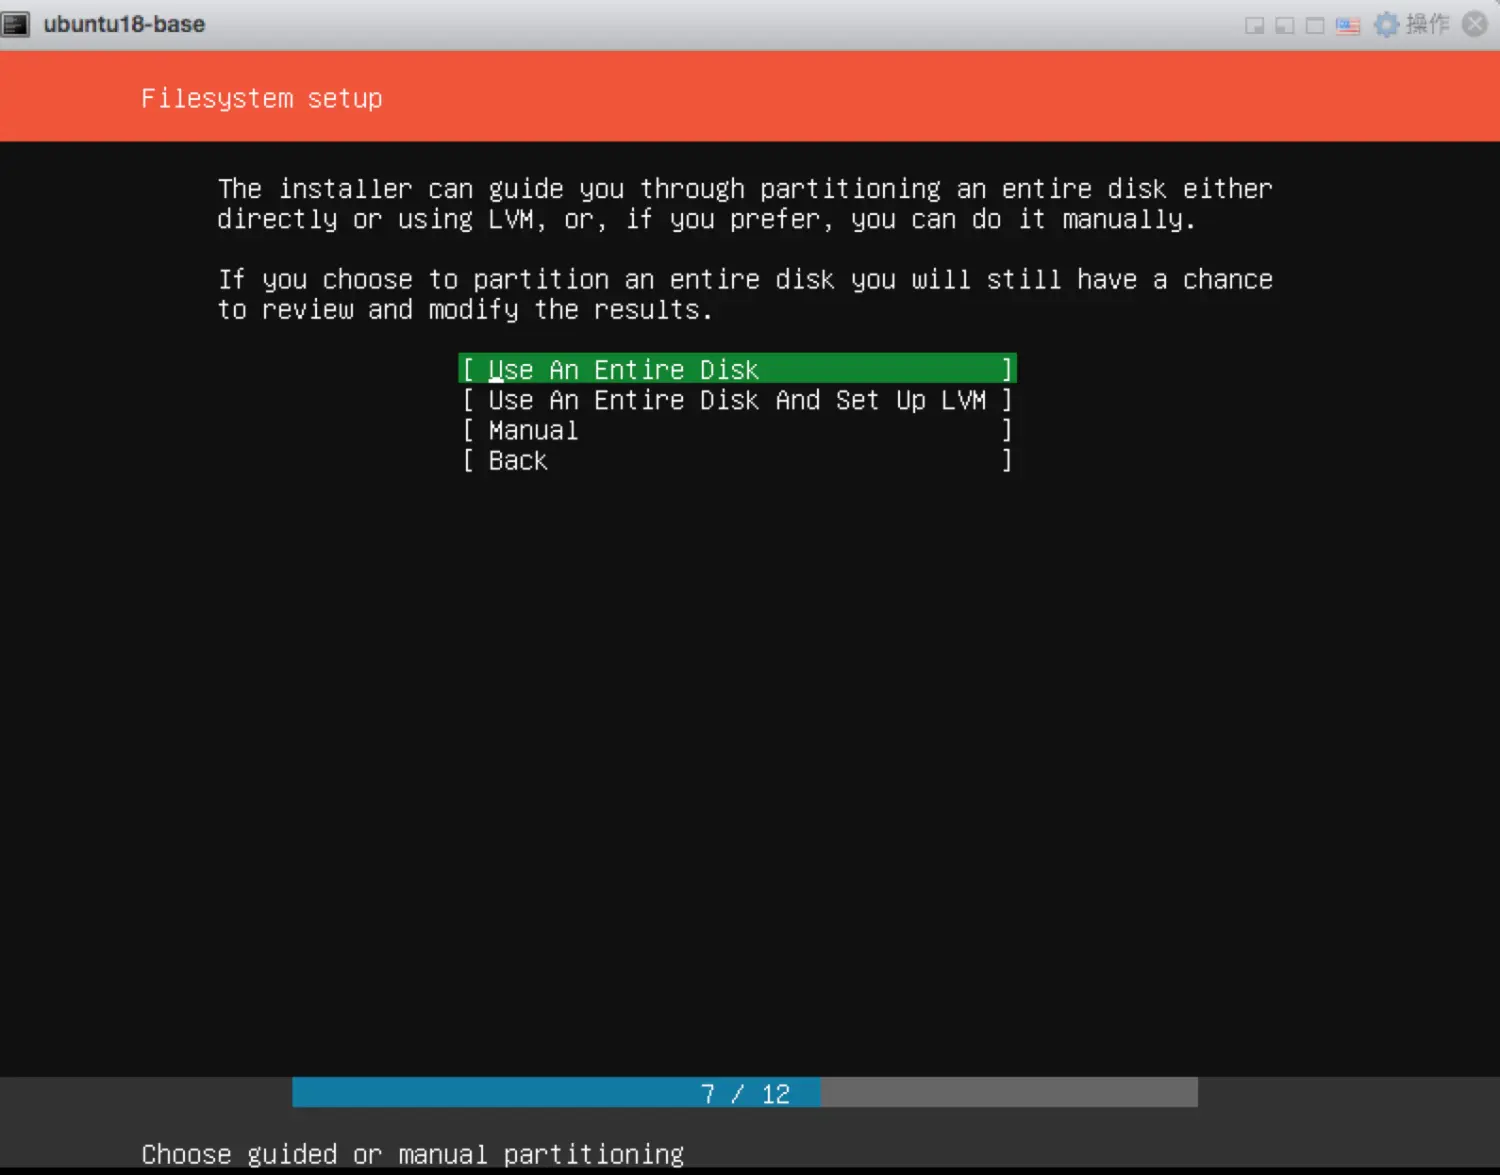 选择硬盘(Choose the disk to install to), 回车: 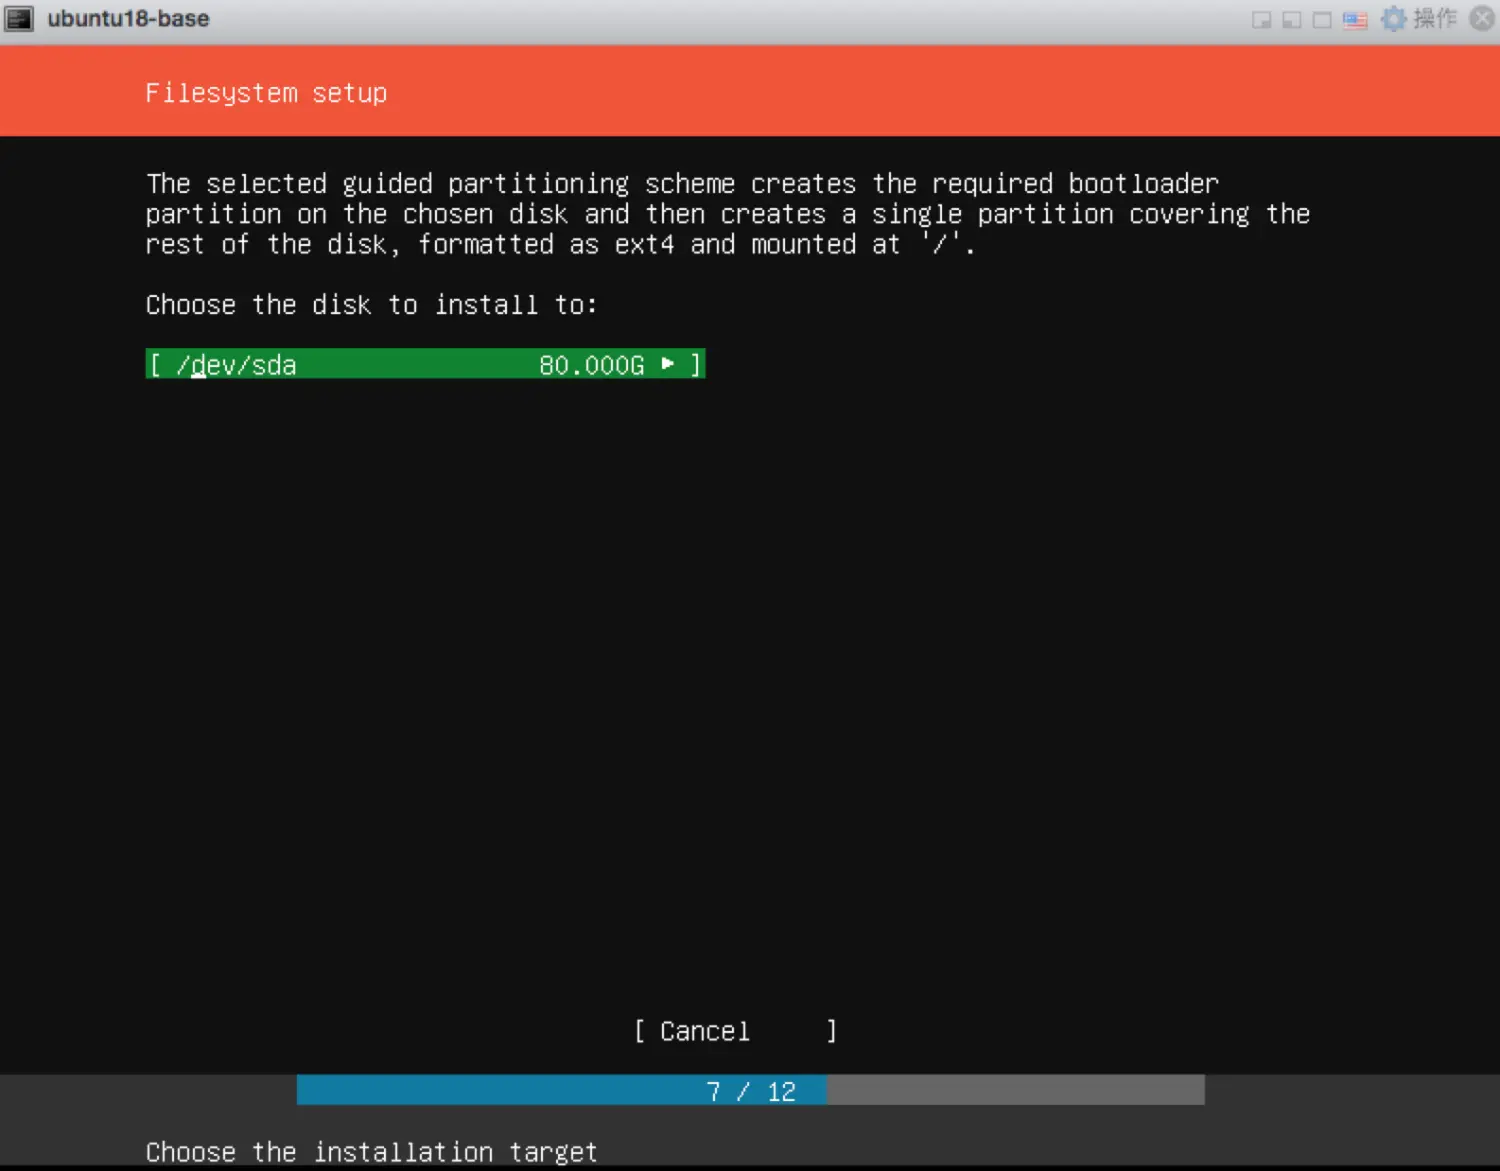 选择Done: 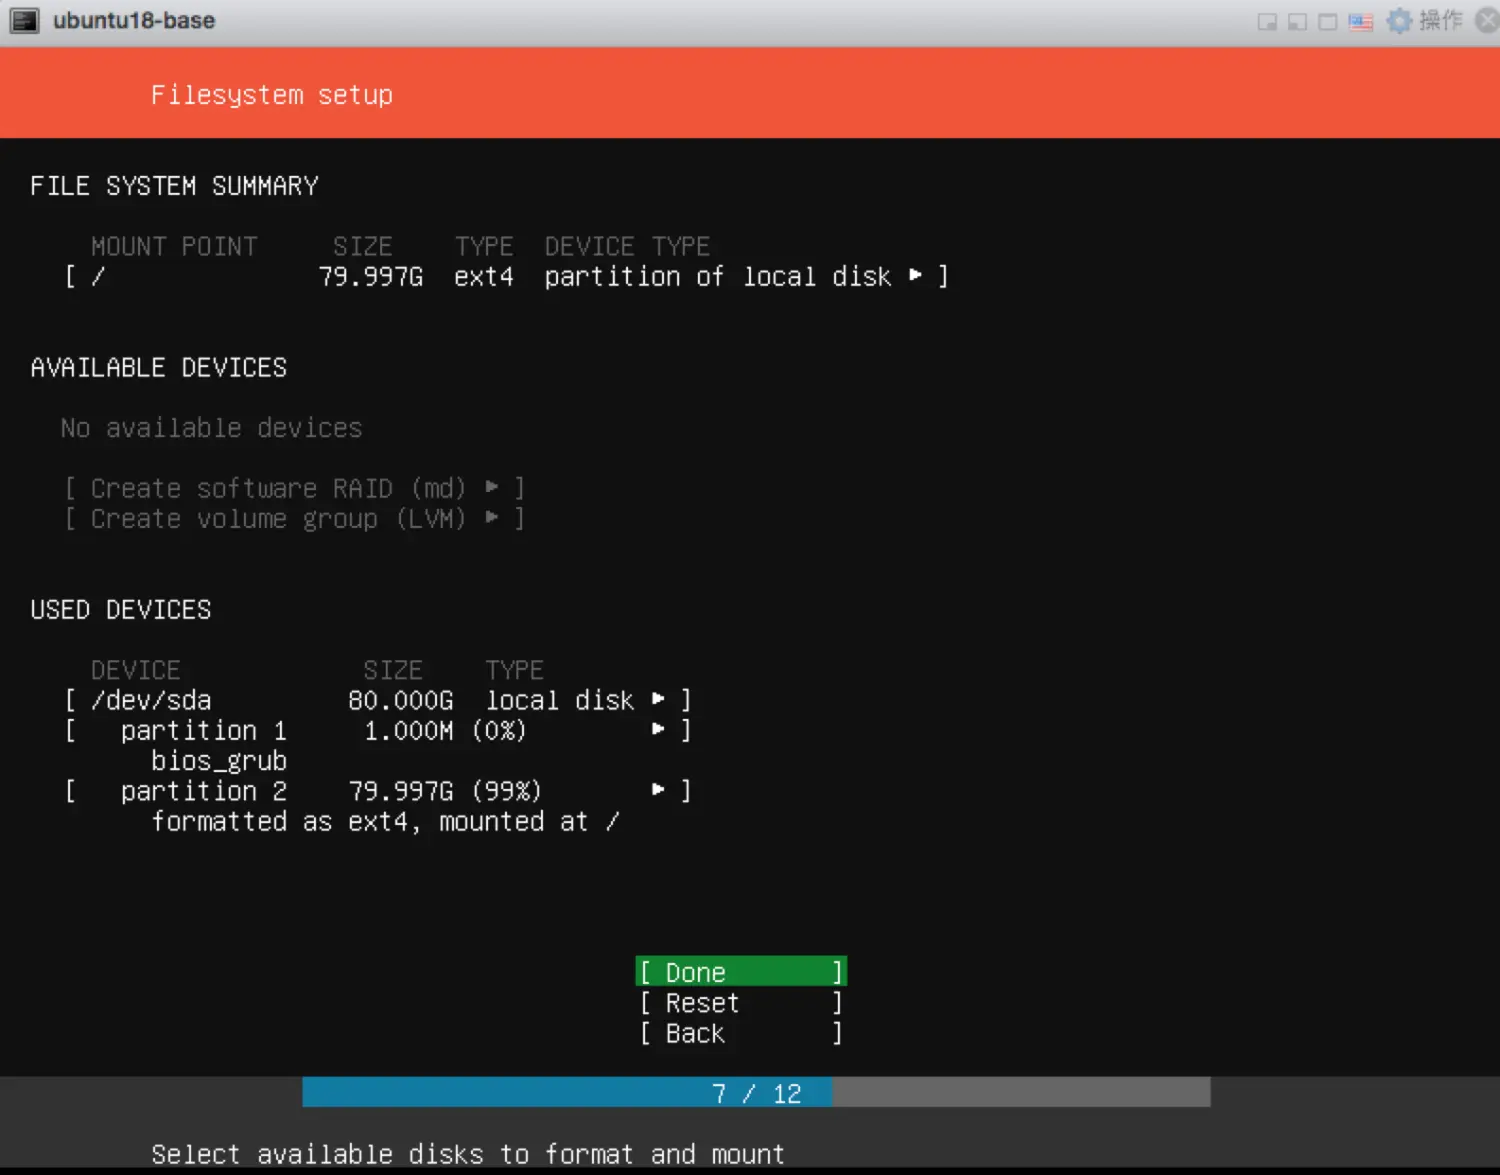 选择Continue(注意该步骤是不可逆的): 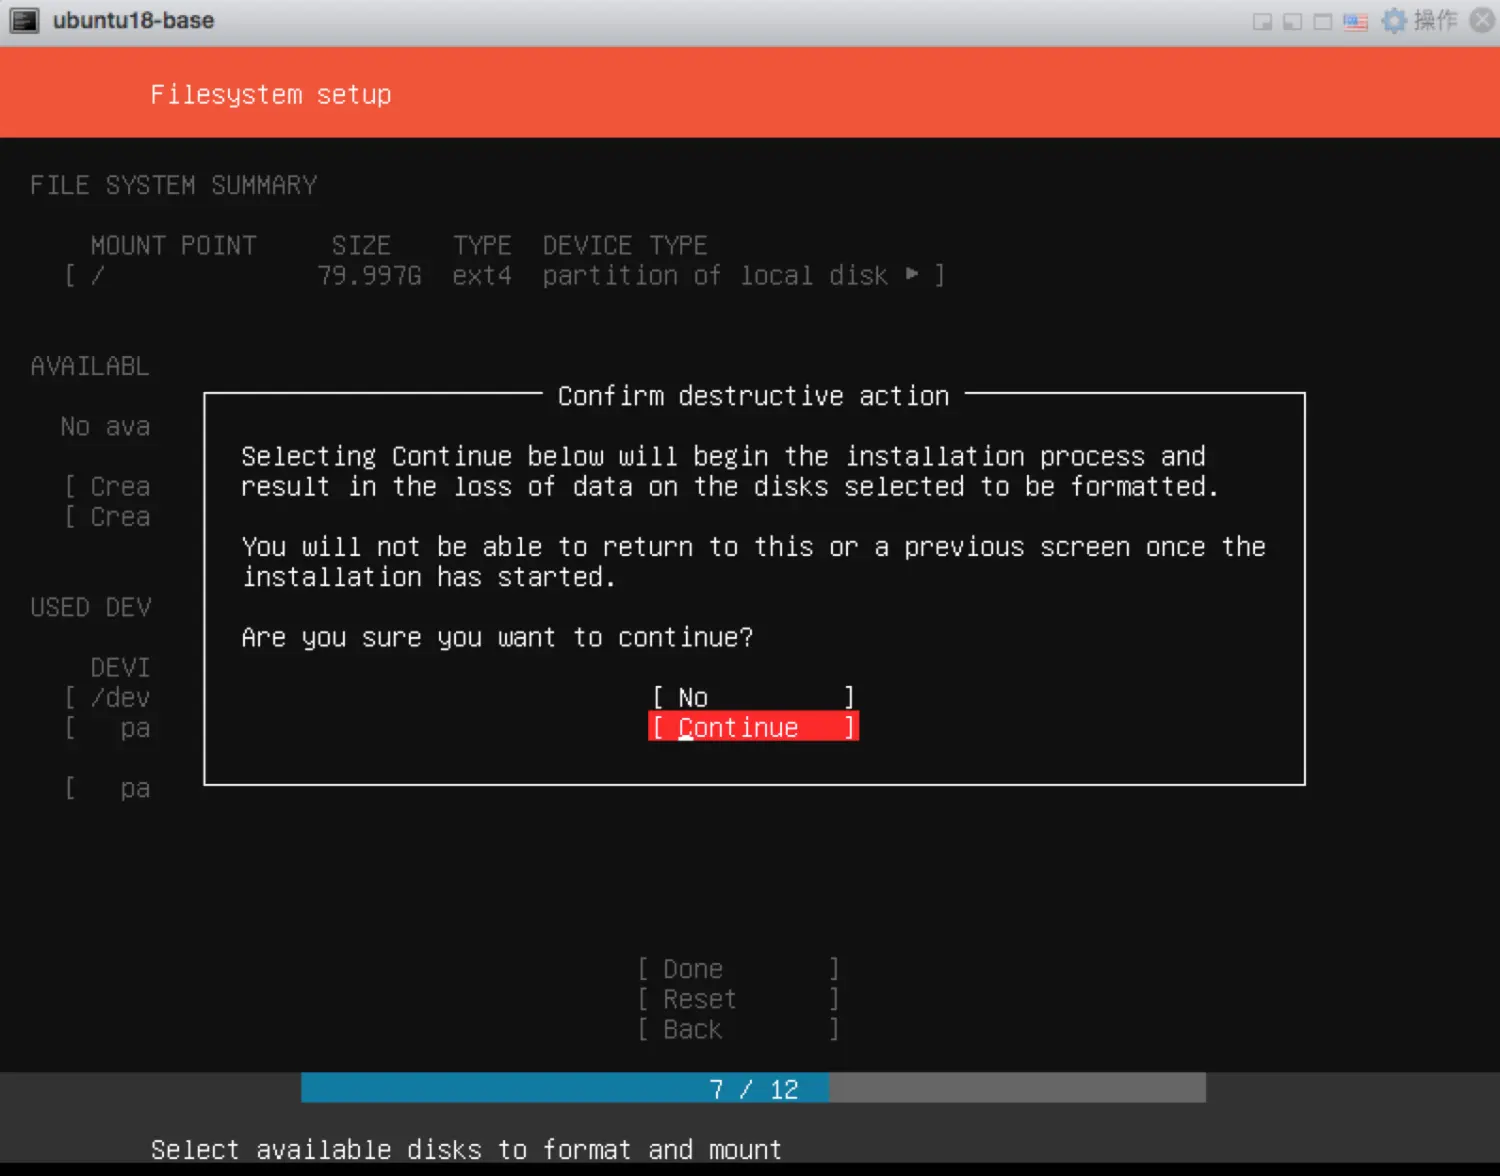 进行机器名、用户名、密码等设置: 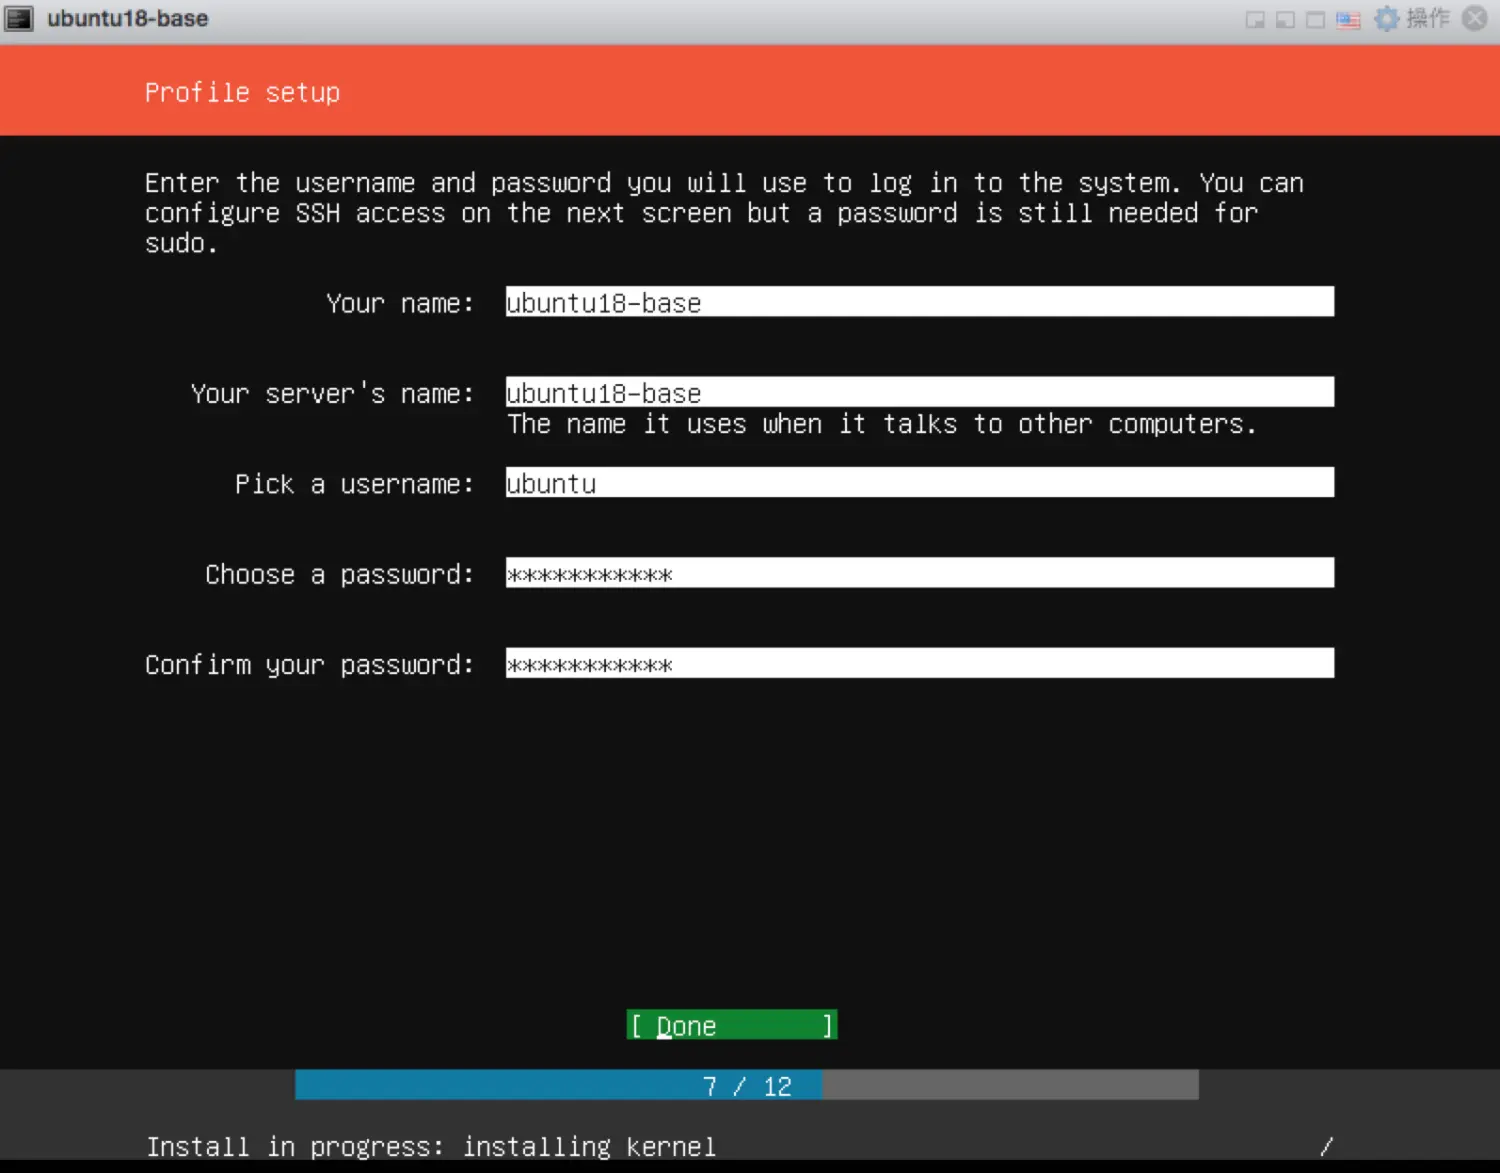 选择安装ssh(用于远程登陆) 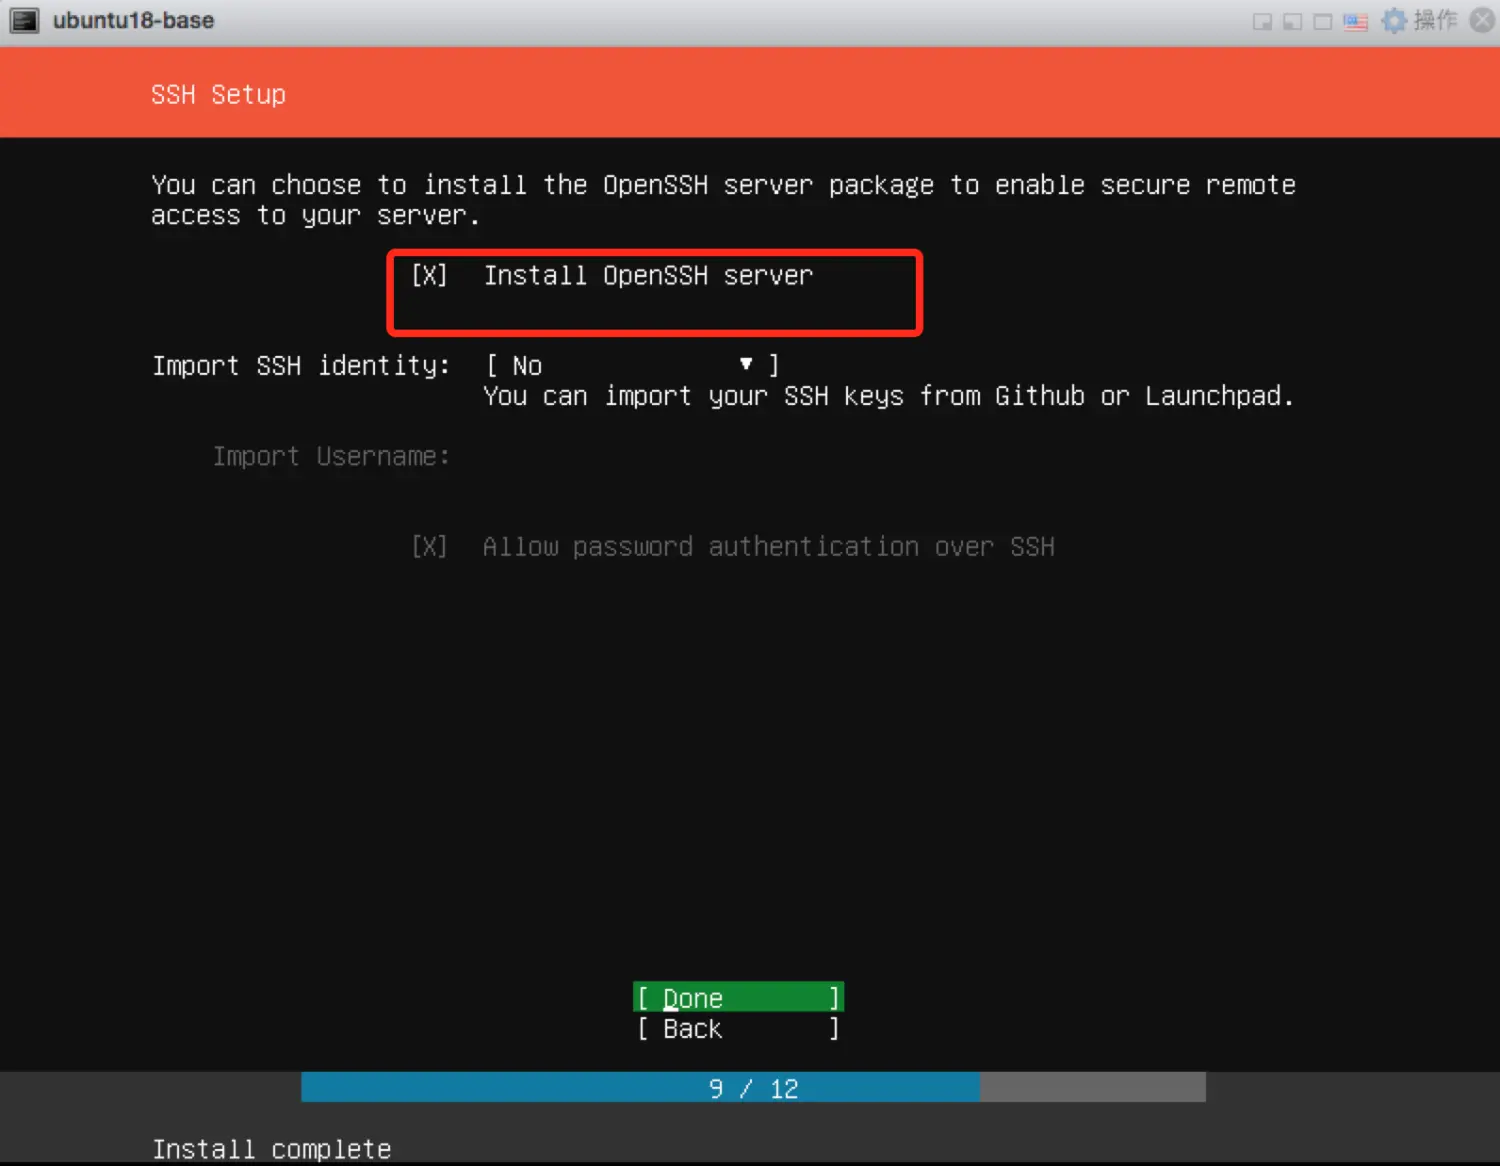 选择Reboot Now进行重启: 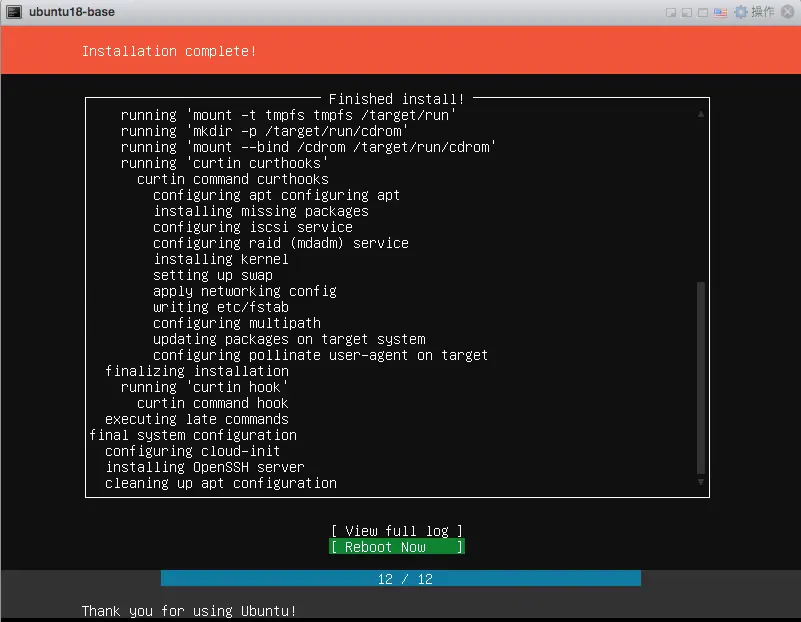 此时提示将安装介质断开后回车确认: 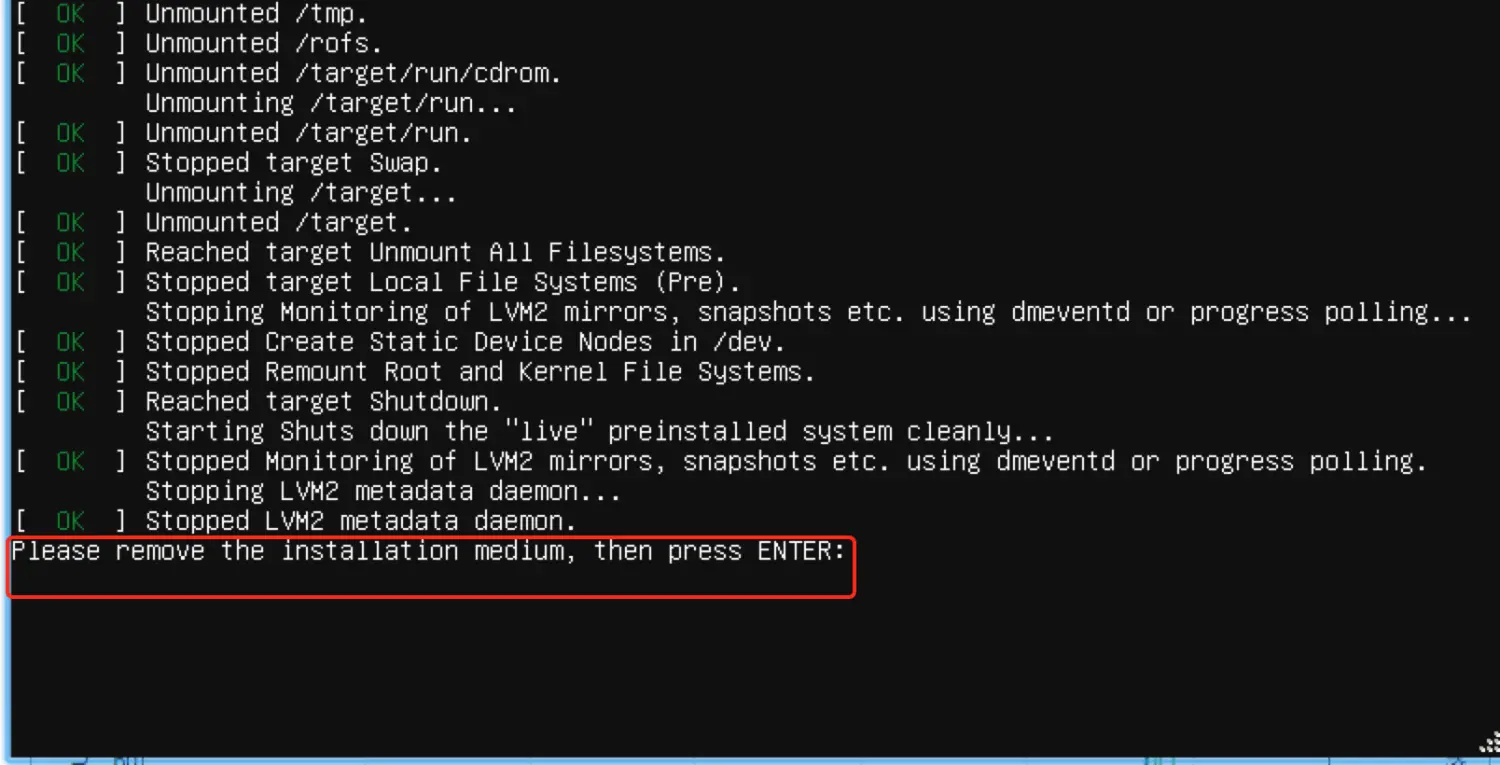 在esxi管理端设置将虚拟机的CD/DVD驱动器断开: 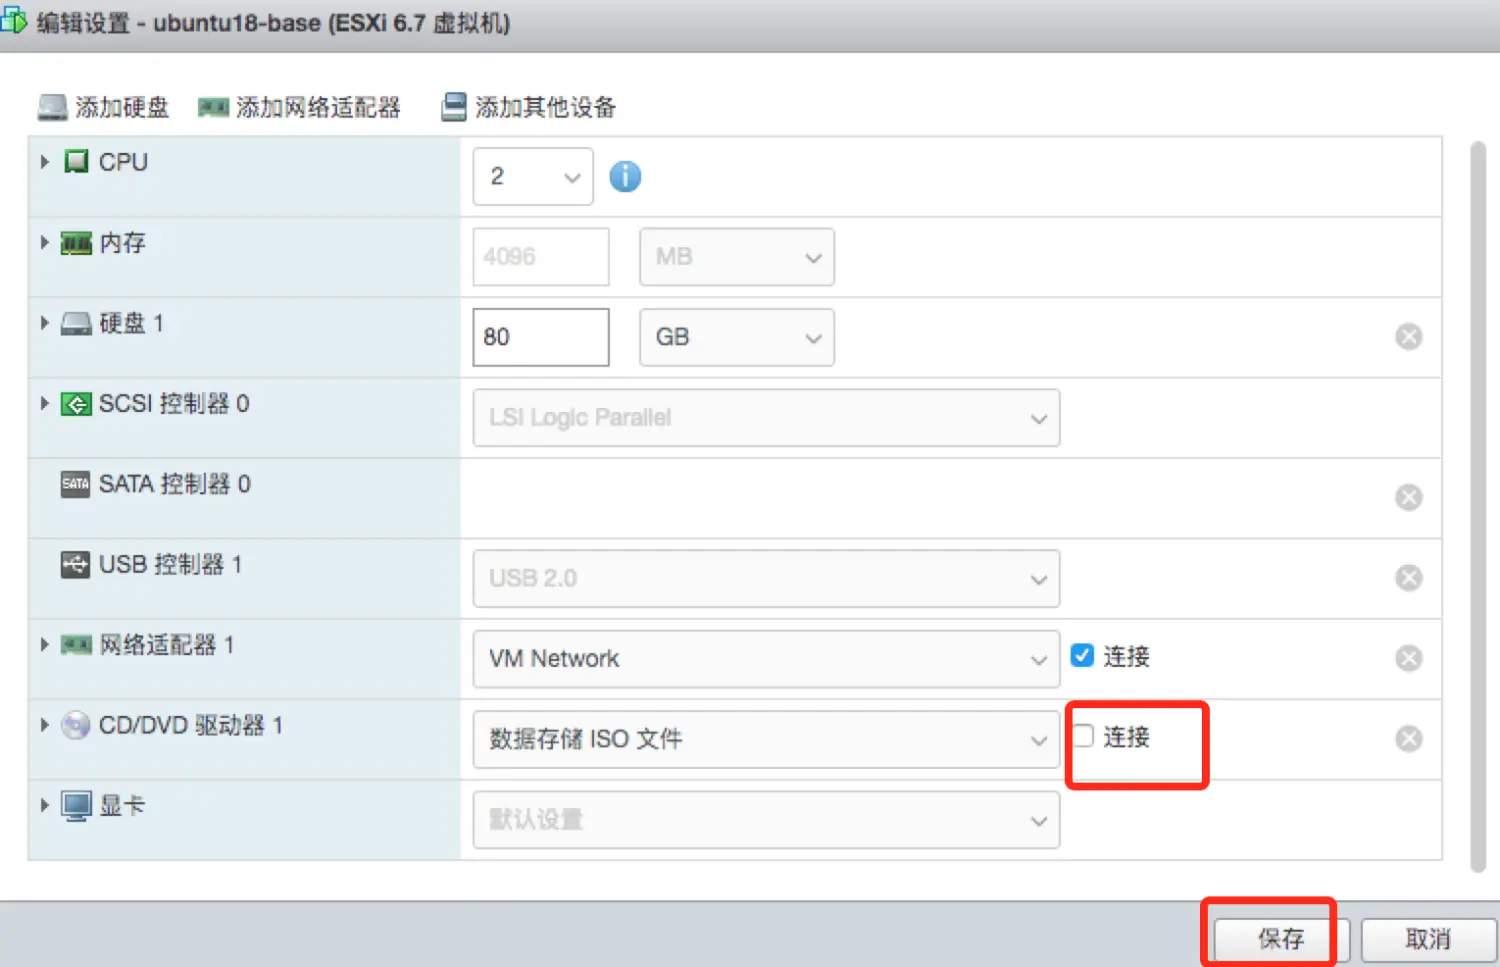 断开后回车确认并重启虚拟机,重启成功后通过安装过程中设置的用户名密码登录,以该用户的身份通过`sudo passwd root`设置root用户密码: 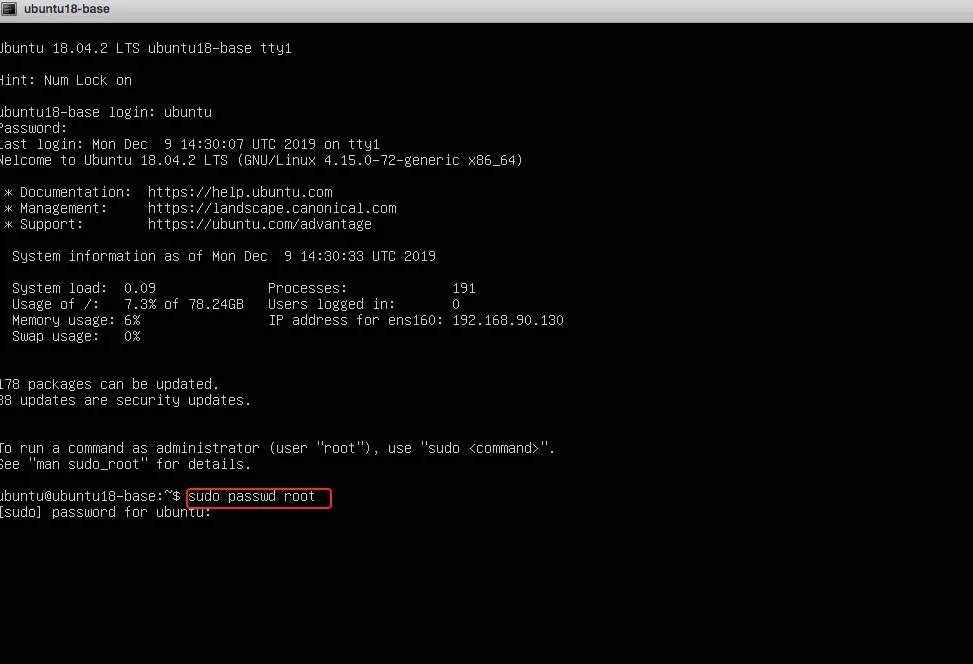 ### 四、允许root用户ssh登录 默认不允许root用户ssh远程登录,开启方法:编辑/etc/ssh/sshd_config文件 找到`#PermitRootLogin prohibit-password`,更改为: :wq保存后重启ssh服务: ok。 最后修改:2023 年 05 月 20 日 © 允许规范转载 打赏 赞赏作者 支付宝微信 赞 如果觉得我的文章对你有用,请随意赞赏

